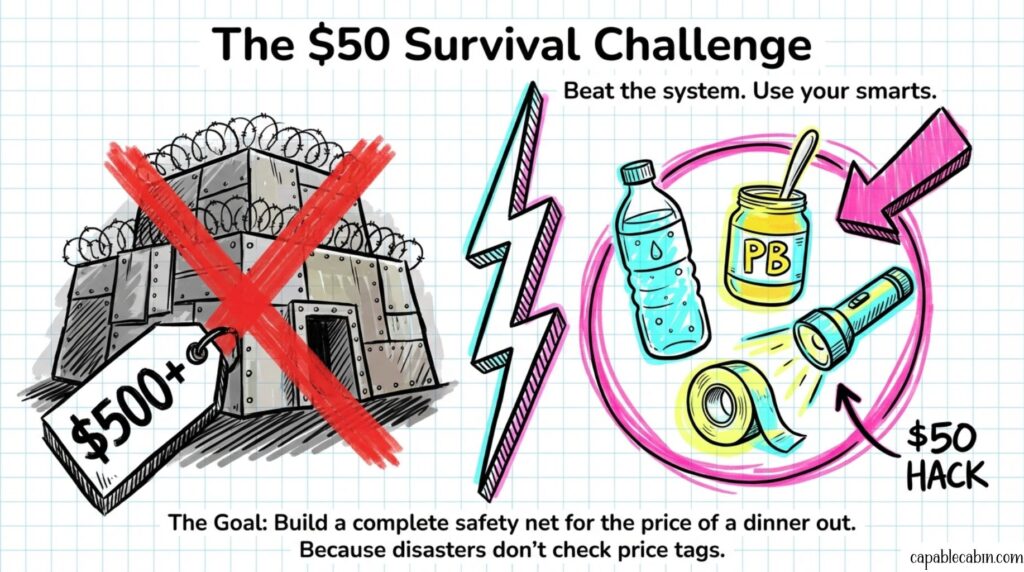
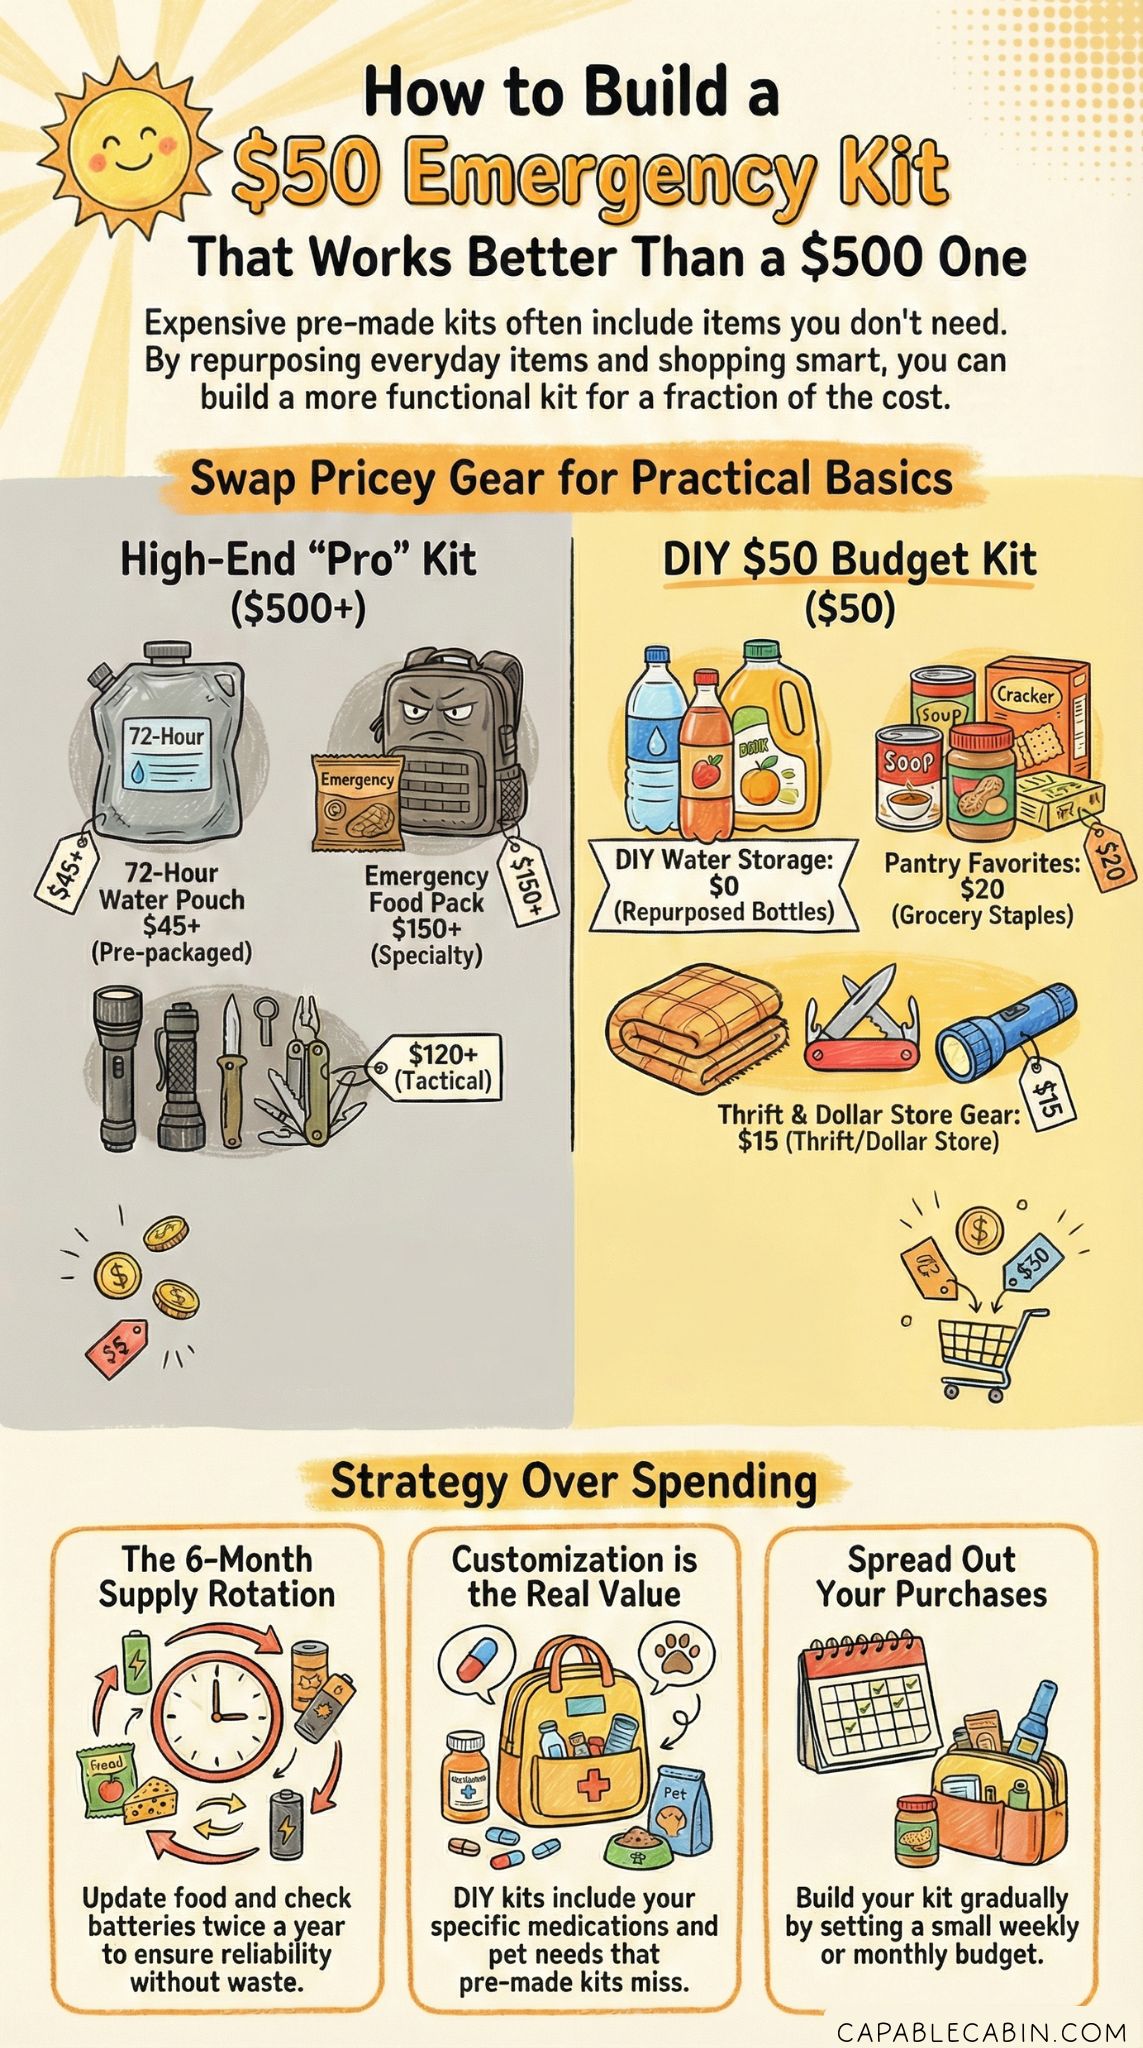
How to Build a $50 Emergency Kit That Works Better Than a $500 One
Why You Need A Budget Emergency Preparedness Kit
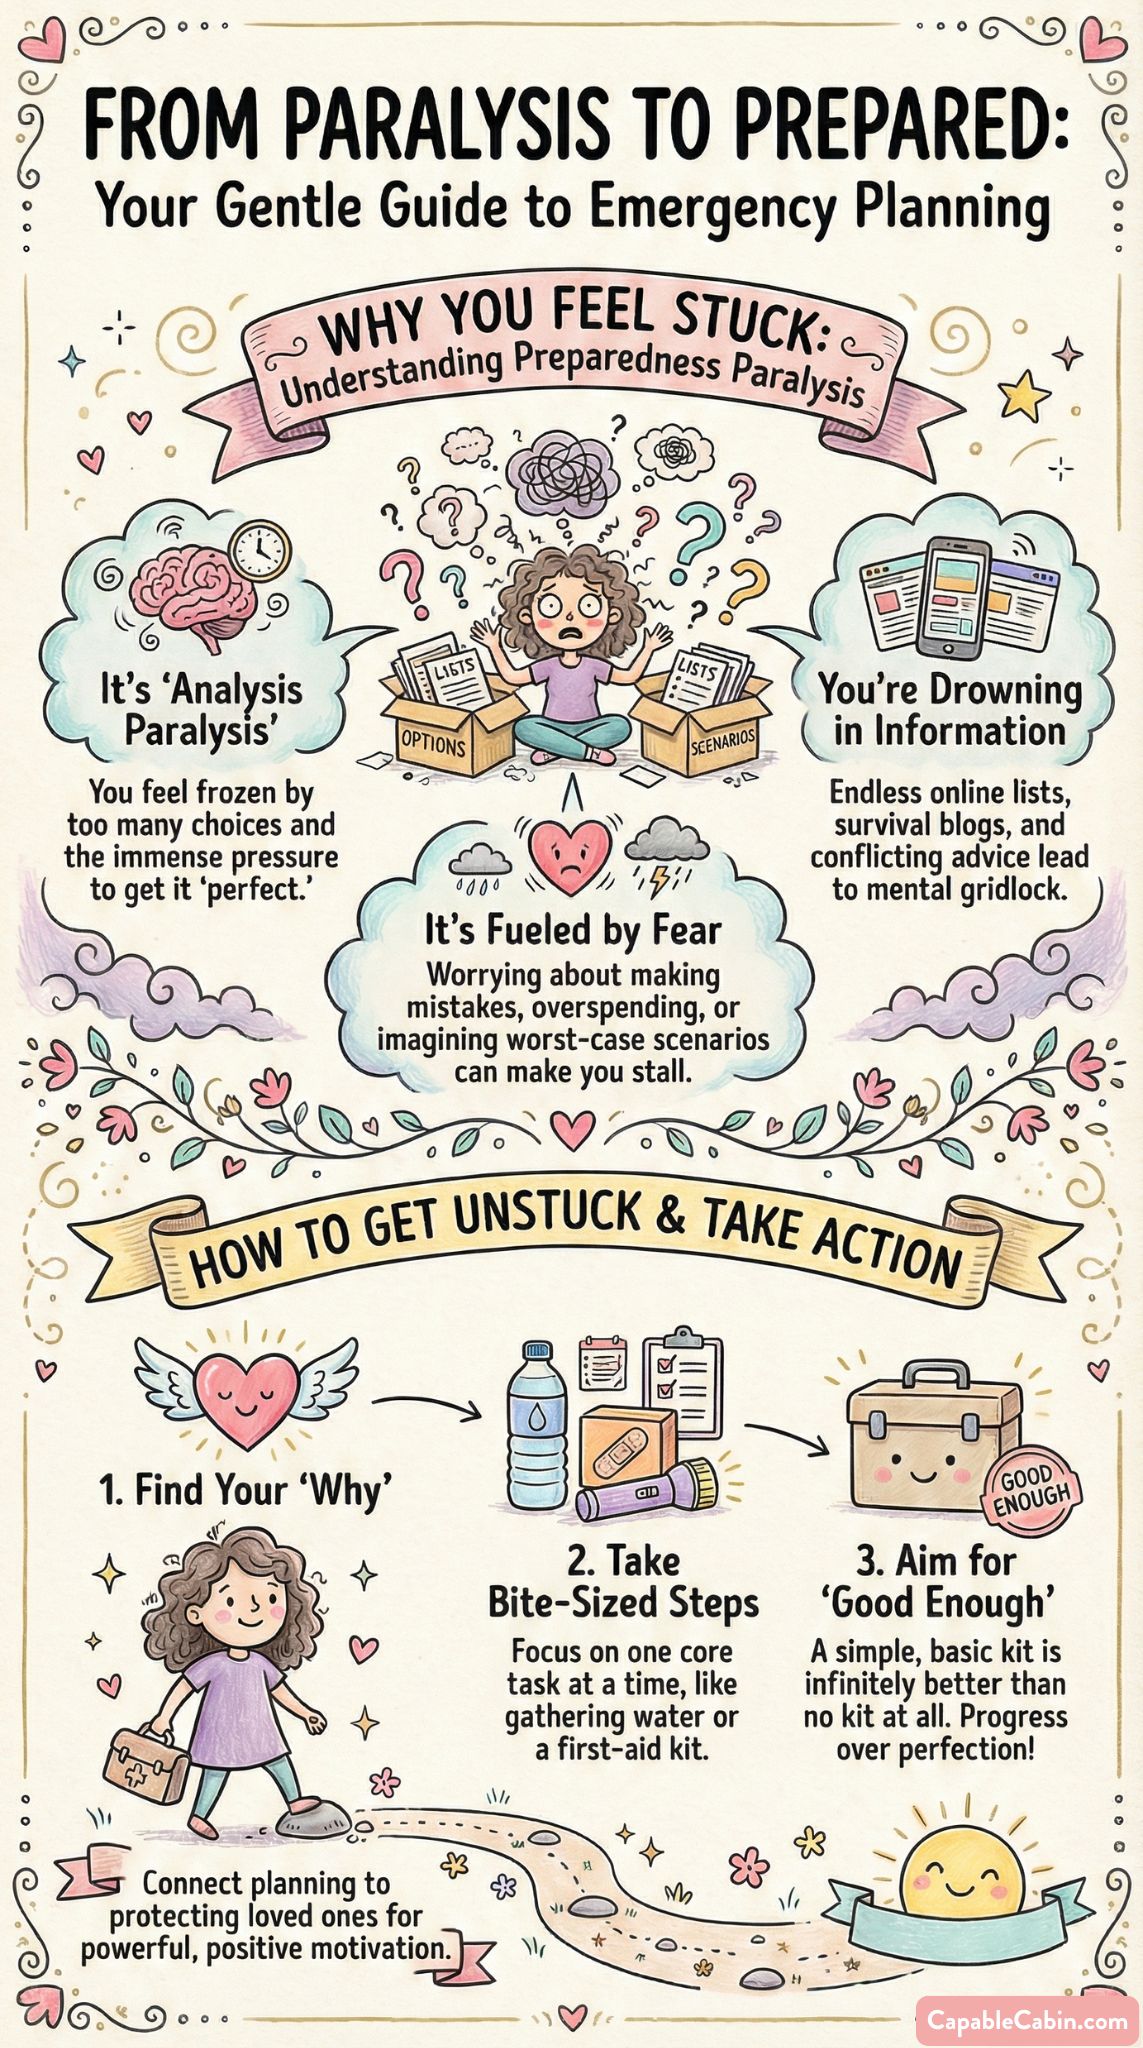
Ever thought you needed a ton of money to assemble a helpful stash of emergency supplies?
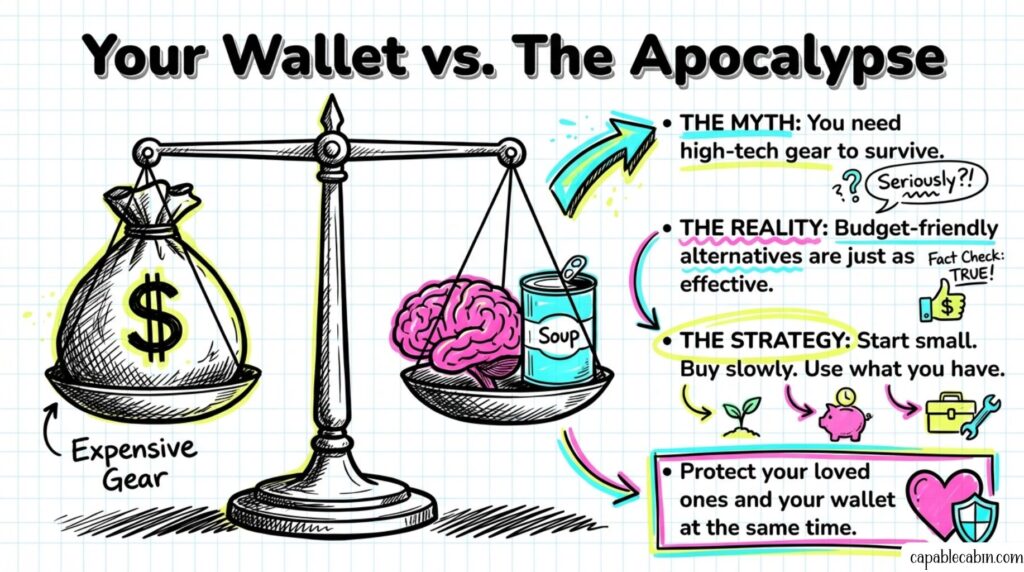
Trust me, you’re not alone. The good news is that a budget emergency preparedness kit can be both affordable and effective. There’s something incredibly comforting about knowing you and your family can weather a storm—literal or figurative—without scrambling for last-minute resources. Yes, you can protect your loved ones and your wallet at the same time.
When disaster strikes, it rarely knocks first. Floods, wildfires, earthquakes, or extended power outages can pop up when you least expect them. And let’s be real, you probably already have enough on your plate—work deadlines, family duties, maybe a pet that requires constant belly rubs. Putting together emergency supplies doesn’t have to be a marathon or a huge budget drain. Let’s explore how you can gradually gather exactly what you need, while steering clear of unnecessary expenses. After all, we’re in this together, and every small step can bring big peace of mind.
Start With A Household Assessment
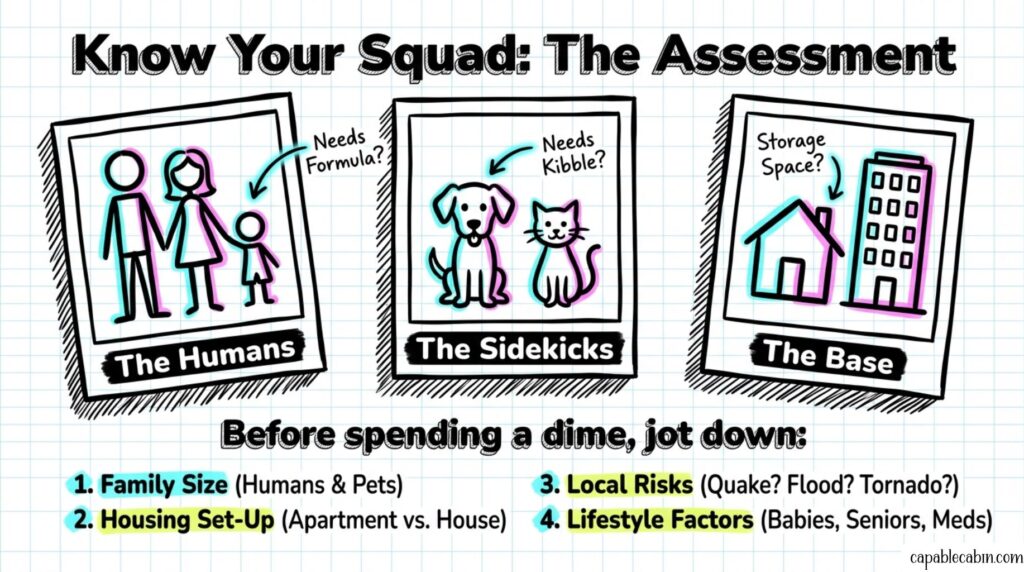
Preparing for emergencies can feel overwhelming if you’re not sure where to begin. An easy first step is to take a quick look around and consider your specific household needs. After all, our homes can be vastly different—some include babies, some have older family members, some have pets, and some might be just you and a few close friends.
- Family Size: Gauge how many folks (and pets) you’re planning for. This helps you figure out basic essentials like water, food, and medication.
- Lifestyle Factors: Maybe you have someone who needs frequent medications, or perhaps your toddler needs specialized items like baby formula.
- Housing Set-Up: If you live in a small apartment, you likely want a compact kit. If you have a bigger home, you might store items in different rooms. (Interested in tips for cozy living spaces? Check out small space emergency preparedness).
- Local Risks: Earthquakes in your area? Hurricanes? Tornadoes? It’s helpful to tailor your kit around the emergencies you’re most likely to face.
Jot these observations down, even if it’s on the back of an envelope. This awareness makes it easier to avoid splurges on items you don’t need.
Gather Core Supplies For Less
If you’ve ever browsed fancy emergency gear, you might think, “Do I need all this high-tech stuff?” The short answer is no. Many budget-friendly alternatives are just as effective. Let’s talk through a few core categories.
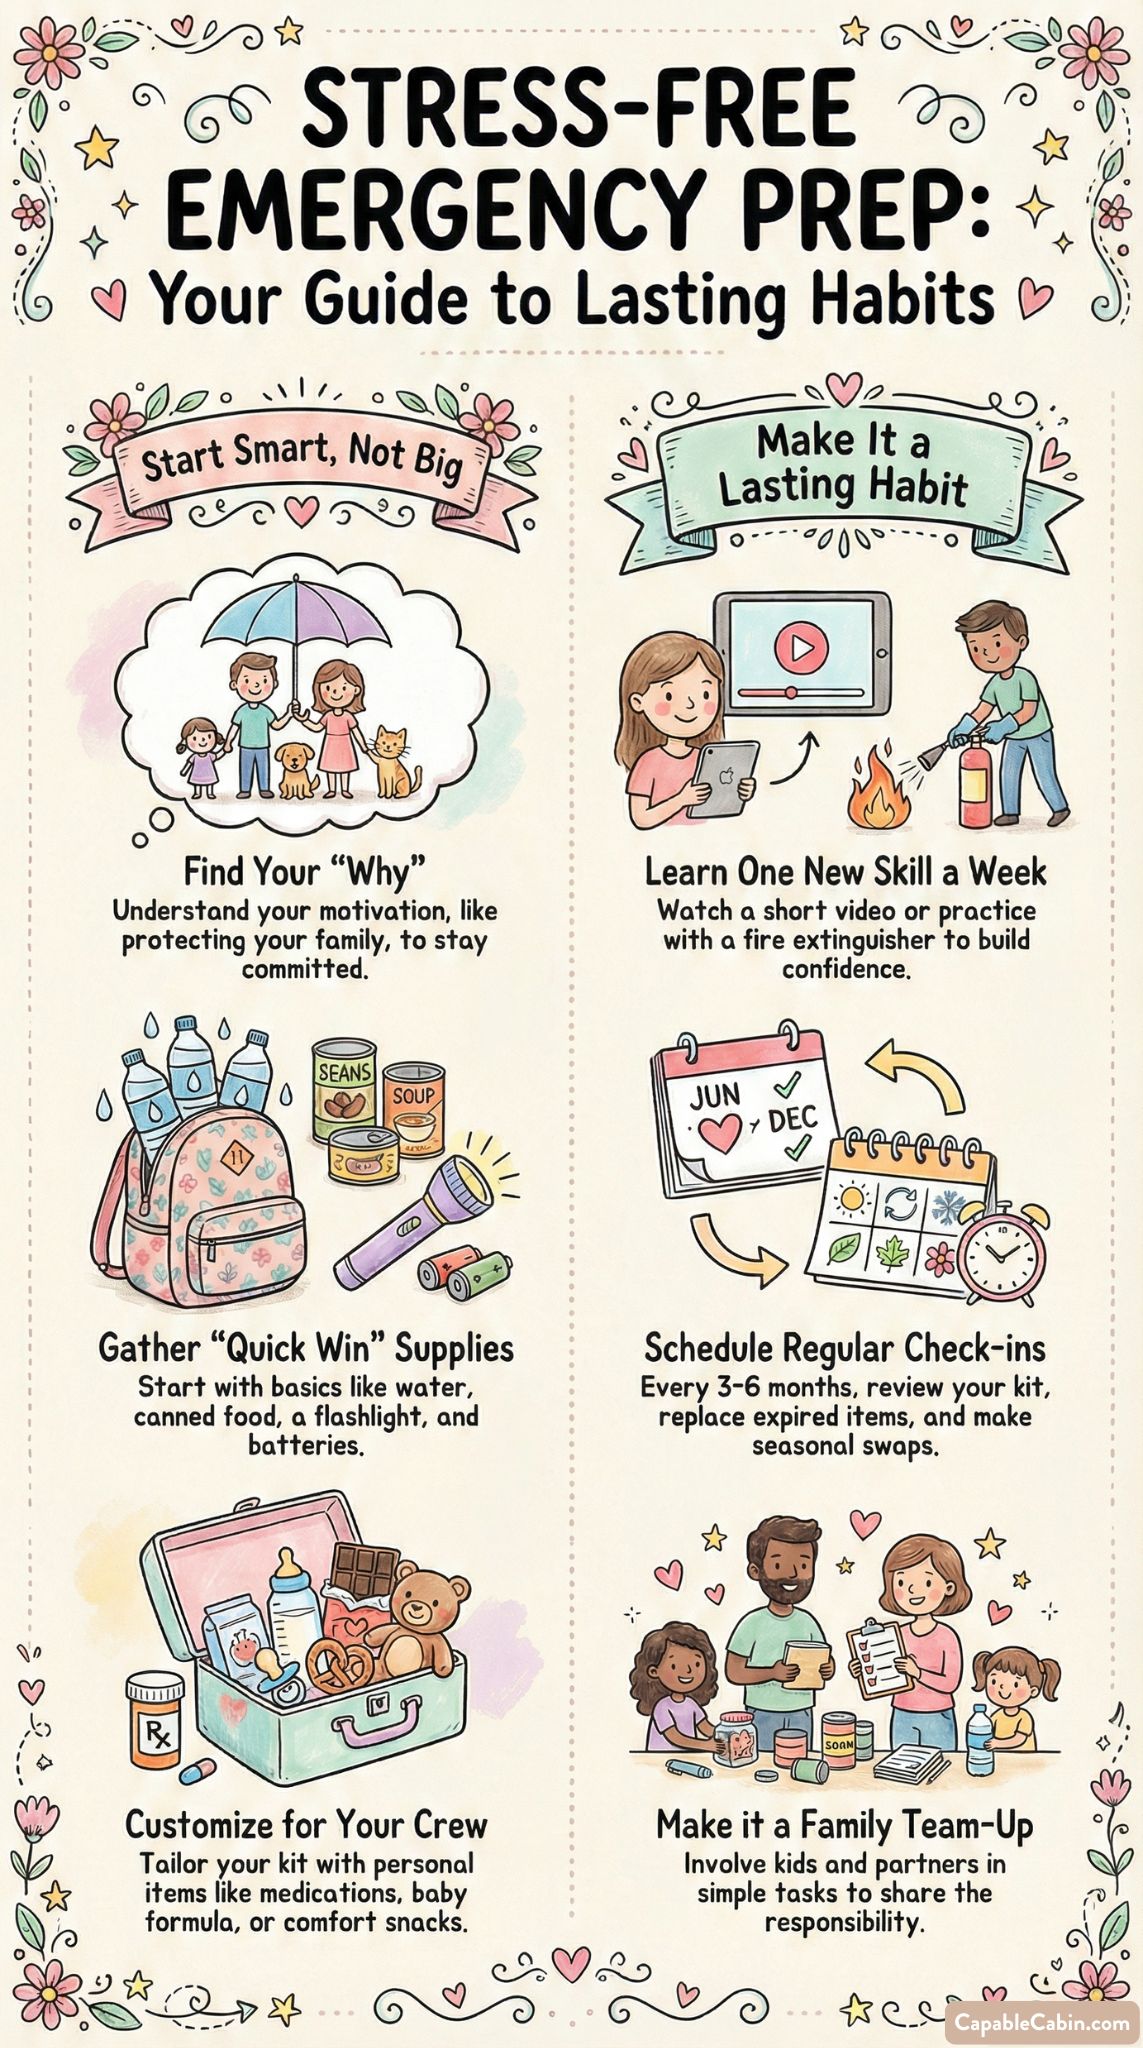
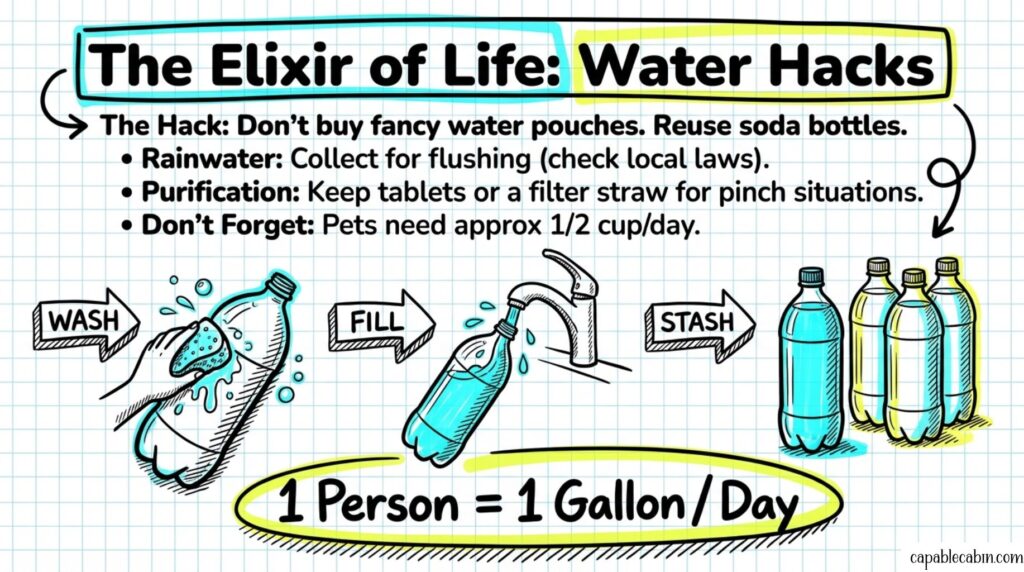
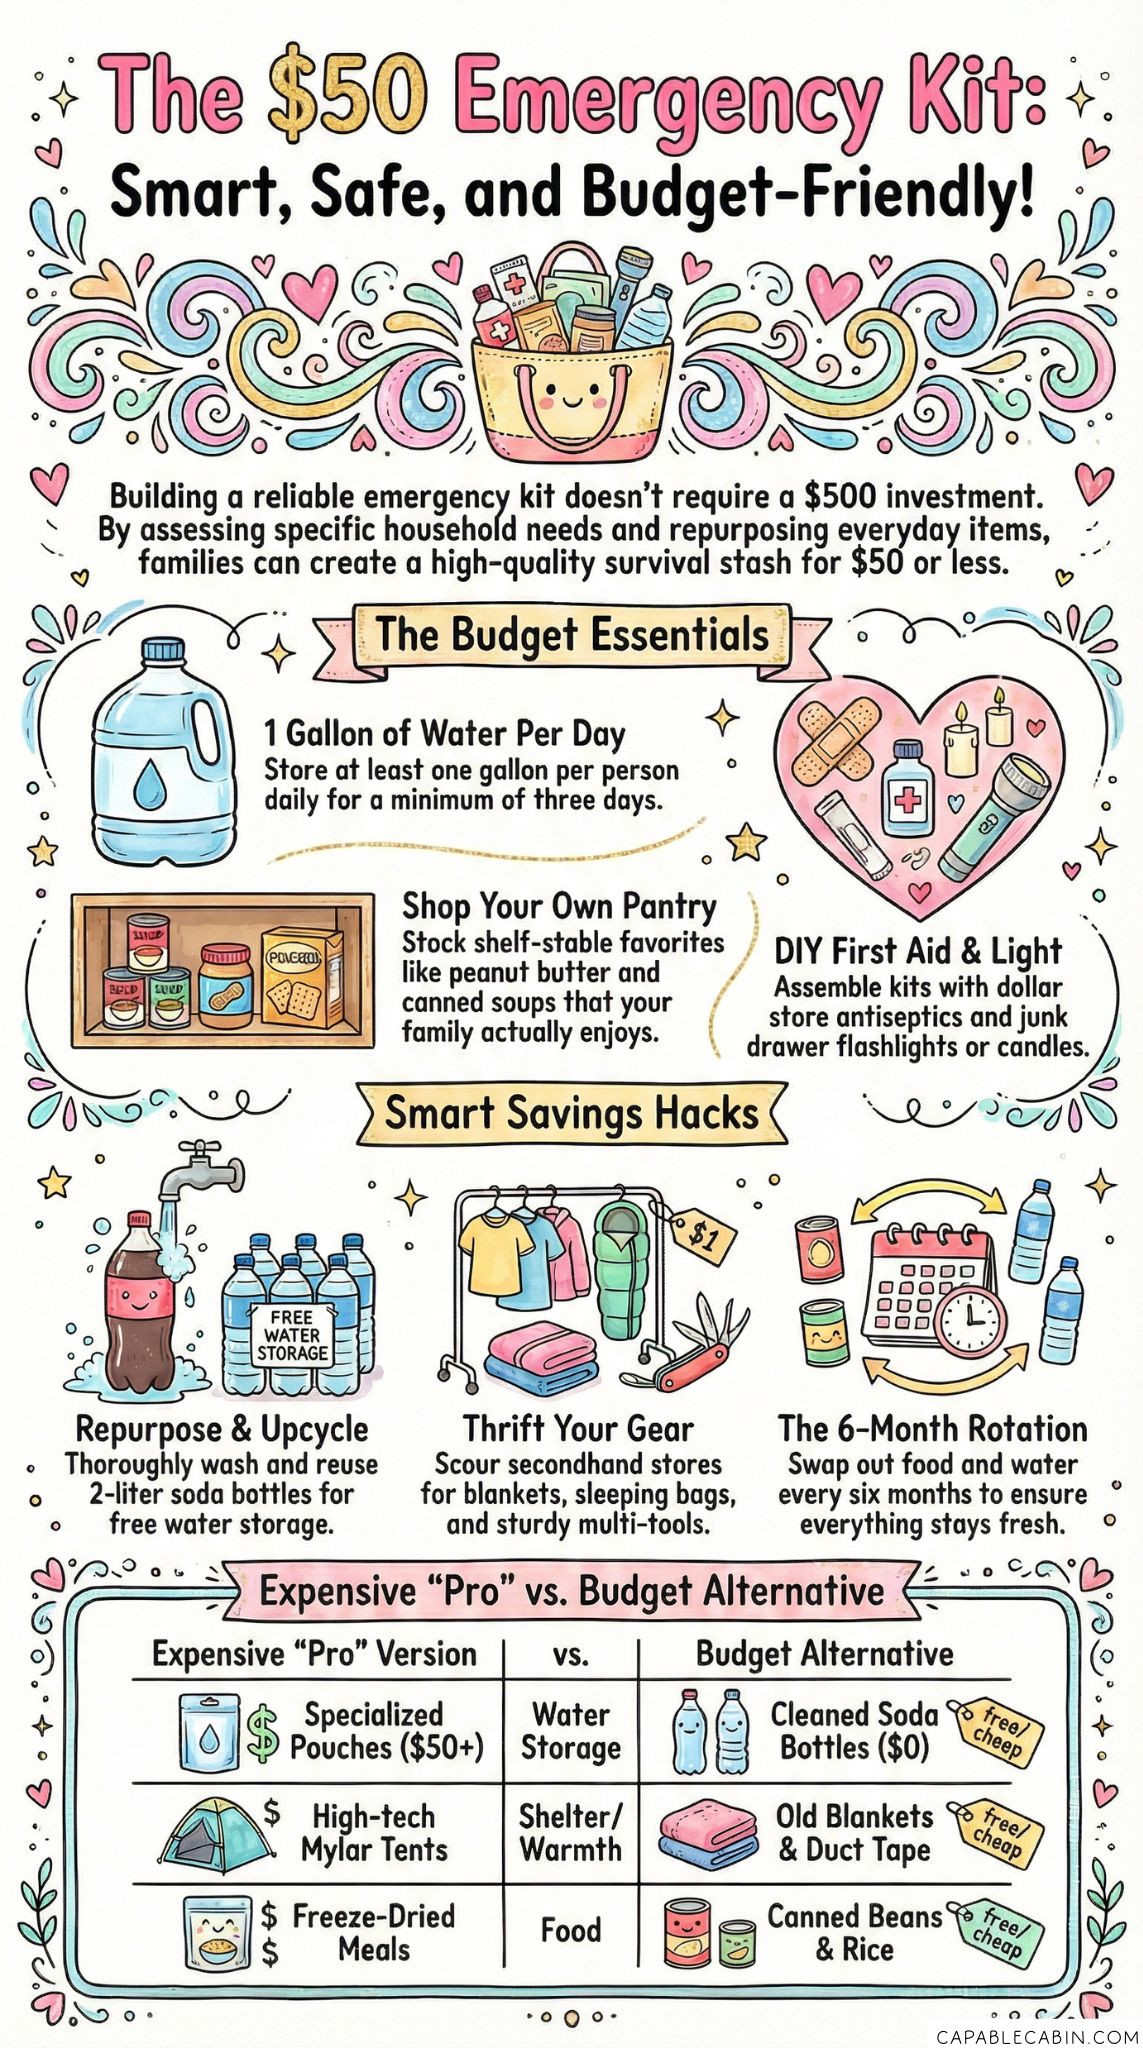
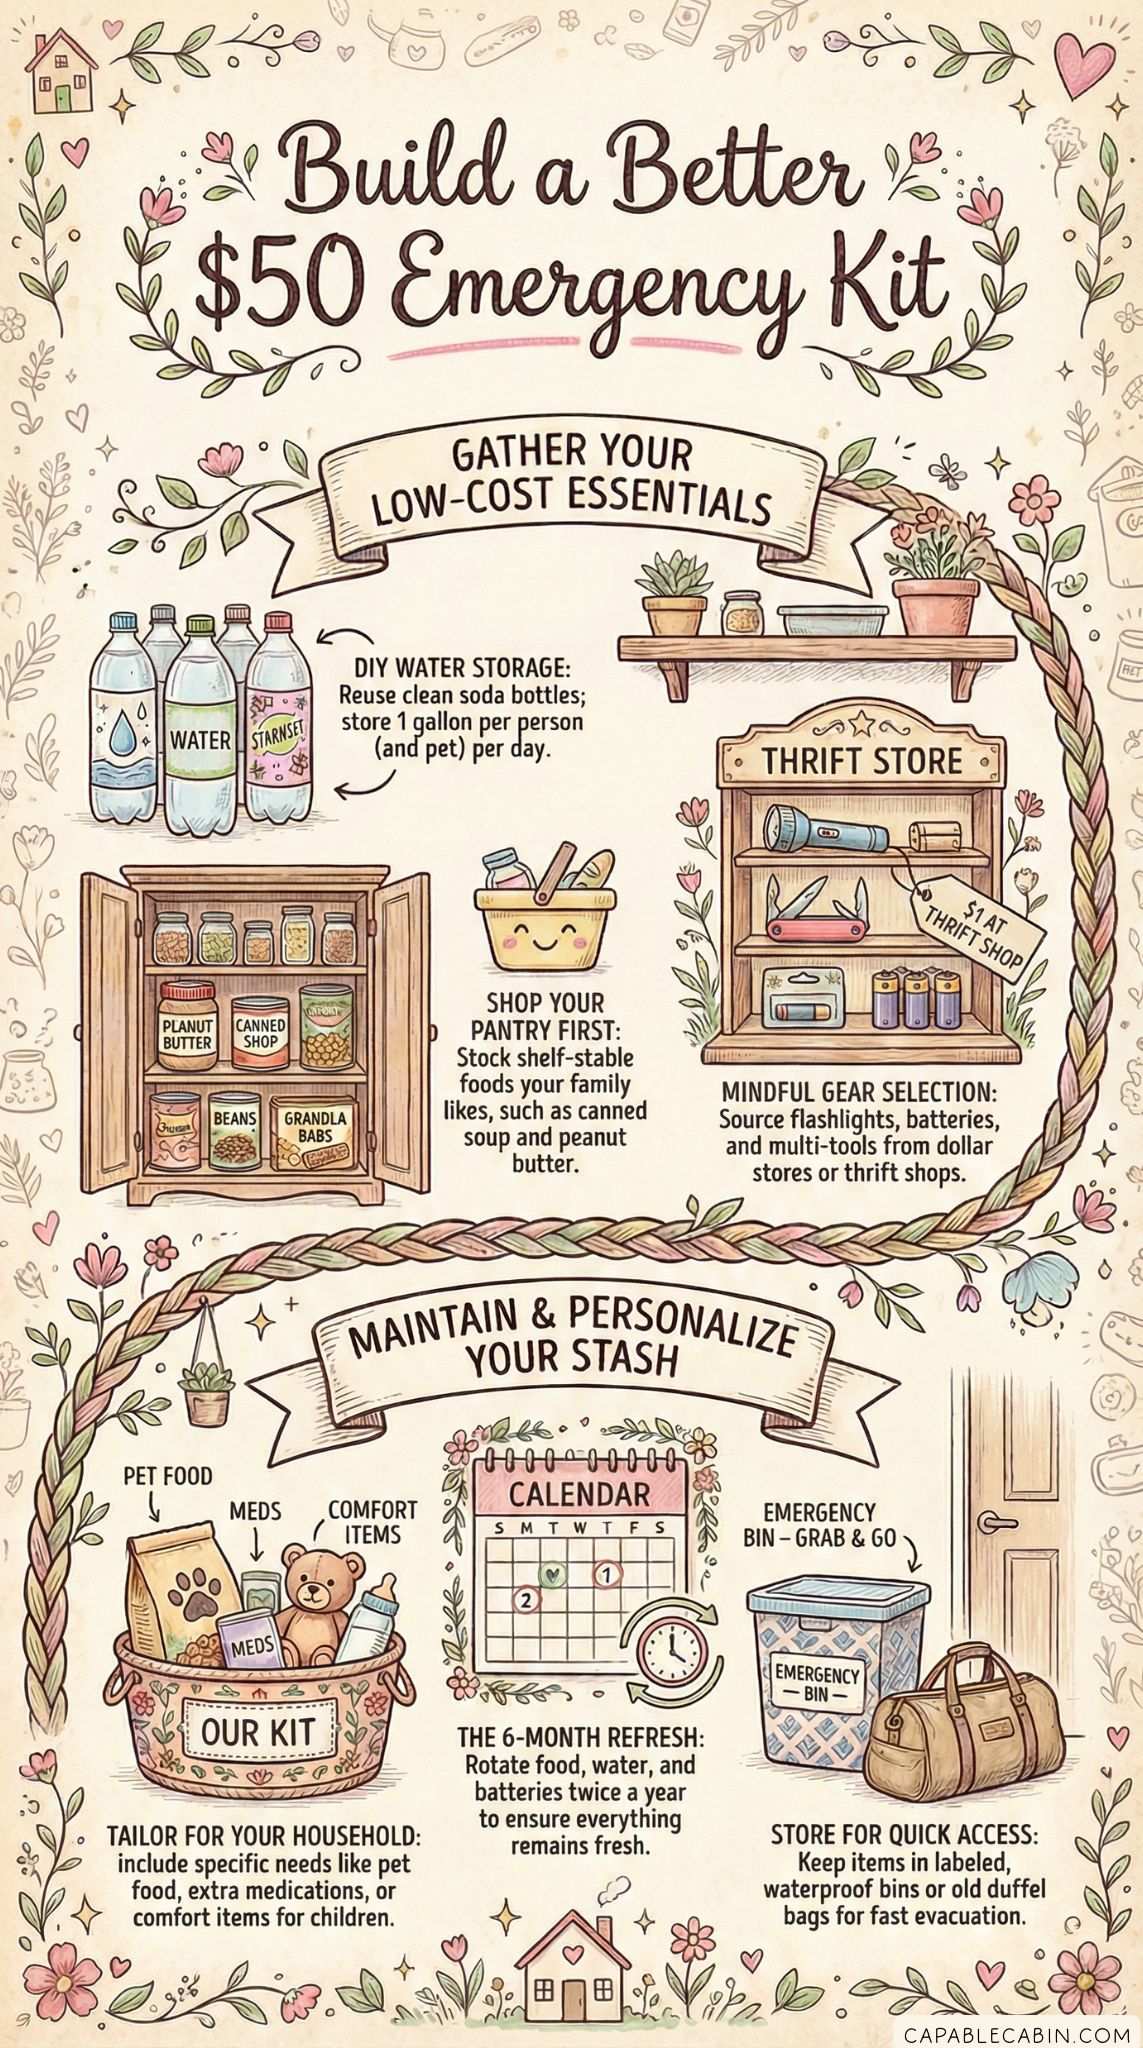
- Water: According to PreparedBC, most people need at least one gallon (roughly four liters) of water per person per day. You don’t have to buy expensive water pouches—repurpose clean soda bottles or juice jugs for storage. Label and rotate them regularly so nothing goes stale. For more details on storing and purifying water at home, you can see emergency water storage purification.
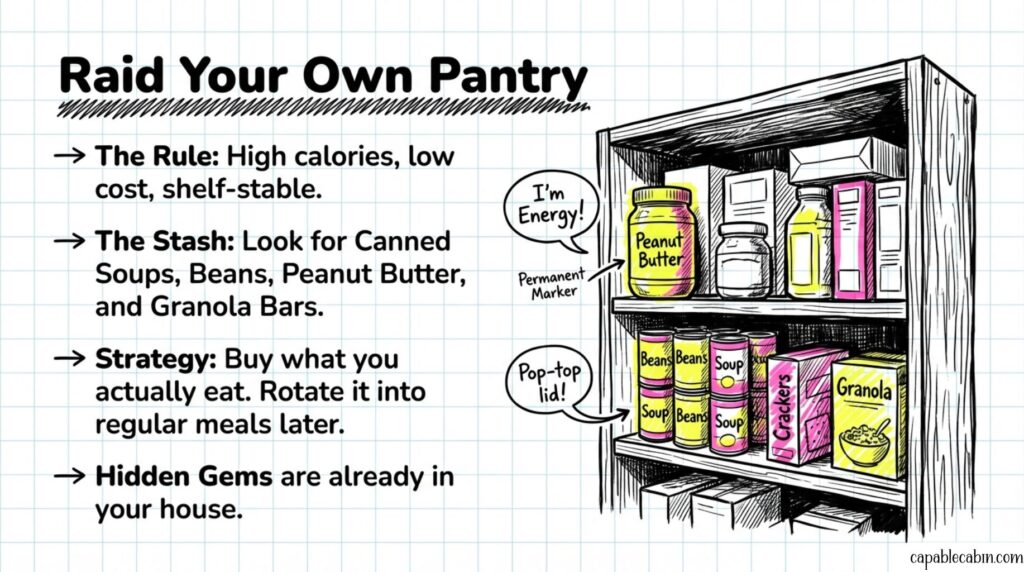
- Food: Think about shelf-stable foods that your family already likes. Canned soups, peanut butter, crackers, and granola bars are all low-cost options. Buying in bulk can cut costs too. Make sure you check expiration dates and rotate items (swap them out if they’re nearing expiration).
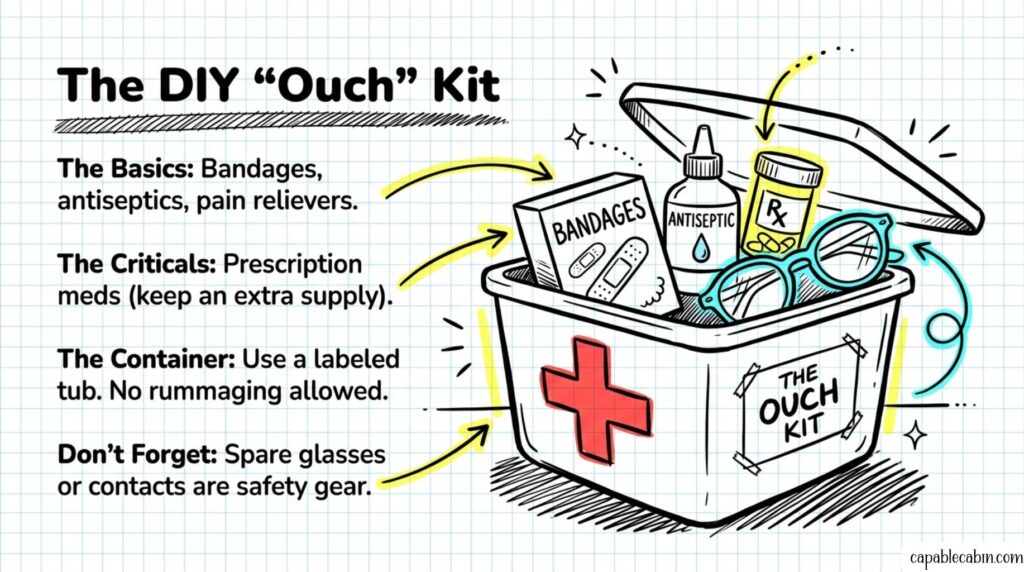
- First Aid Basics: Grab a basic medical kit or assemble your own with bandages, antiseptics, pain relievers, and any prescription meds you or your family need. Keep things in a small, labeled container so you don’t have to rummage in an emergency. Need deeper guidance? Peek at first aid medical emergency kit.
- Light And Communication: Flashlights, headlamps, or even candles from your junk drawer (with caution!) can do the trick. If you can swing it, a small crank or solar radio offers reassurance if phone lines go down.
One big tip: Spread out your purchases. You don’t have to buy everything this week. Define a monthly or weekly budget, then pick up items slowly. Over time, you’ll have a surprisingly well-rounded kit.
Smart Ways To Secure Water
Running out of water during a crisis is stressful. Unless you’re storing endless jugs, you might feel uncertain about how much is “enough.” The typical recommendation from Ready.gov is about one gallon per person per day for at least three days, though you can certainly keep more if space allows. Don’t forget about your pets. They need a safe water supply too—roughly half a cup a day for small pets, and more for bigger furry friends.
If you’re on a tight budget, here are some tips:
- DIY Bottling: Wash out two-liter soda bottles thoroughly (with soap and hot water), rinse well, then fill with tap water. Label them with a date so you’ll remember when to refresh.
- Rainwater Collection: If local laws permit, collect rainwater for washing or flushing toilets in an emergency. Just remember to filter or purify if you’re going to drink it.
- Bulk Buys: Sometimes grocery stores have sales on large cases of bottled water. Take advantage when prices are low, but check expiration dates.
- Purification Tools: In pinch situations, chemical tablets or a small filter straw can let you safely drink questionable water. Look for sales online or at outdoor supply shops.
For deeper dives into cleaning and storing water safely, you might check out emergency kit storage solutions and see if there’s a corner of your home where you can stash these containers without tripping over them.
Build A Low-Cost Food Stash
Food security is huge when you’re planning to weather an emergency—no one likes being hungry, especially during stressful times. The trick is choosing foods that won’t break the bank, that last a while, and that your family will actually eat.
- Clean Out Your Pantry: You might be surprised by what you already have. Canned beans, rice, and instant oatmeal can stock your kit without costing anything extra.
- Buy On Sale: Watch for discounts on canned goods or shelf-stable items. Clip coupons when you see them.
- Rotate Often: Make a note of expiration dates and rotate older items into your regular meals. This is key to preventing waste, recommended by Emerge Survival, which points out that failing to rotate perishable items is a common error.
If you want to expand beyond the basics, you can think about dehydrated meals or freeze-dried packs. But if you’re on a tight budget, everyday groceries will work just fine—just remember to replace them before they expire. Need more tips? Take a look at emergency food storage kit to explore ways families store shelf-stable foods.
Choose Essential Gear Mindfully
Now let’s look at gear. It can be easy to blow your budget on fancy gadgets, but let’s rein that in. Basic items can help you stay safe and comfortable:
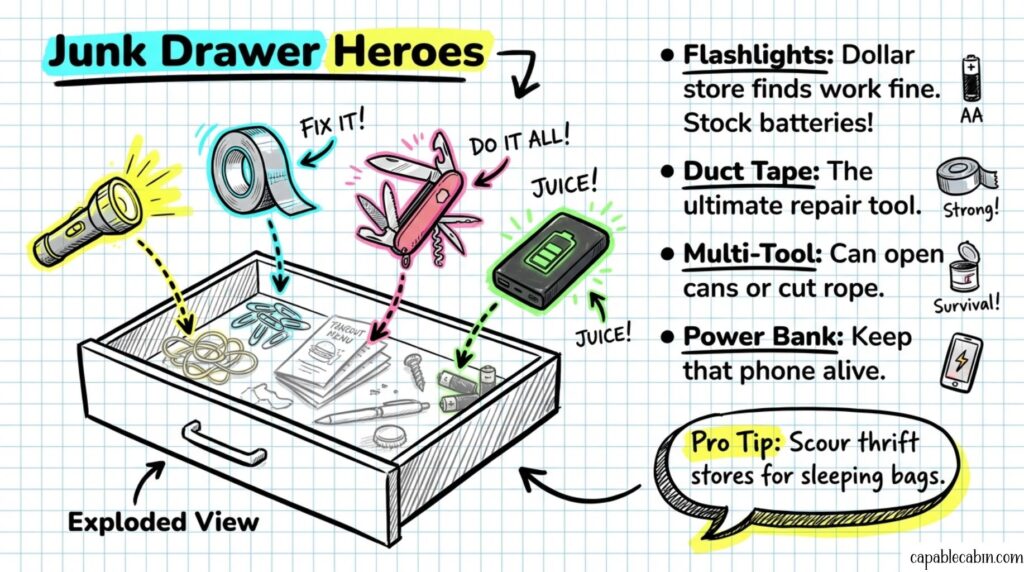
- Flashlights Or Headlamps: Dollar stores often carry affordable options. Keep extra batteries on hand.
- Portable Charger: An old-school power bank can help keep your phone alive. Wait for sales or pick up clearance items.
- Multi-Tool: A cheap but sturdy multi-tool can open cans, cut rope, or unscrew a vent.
- Duct Tape And Plastic Sheeting: Great for sealing drafts, making repairs, or improvising a shelter if the roof leaks.
If you’re strapped for cash, scour secondhand stores or watch for yard sales. You can find everything from barely used sleeping bags to discounted gear that someone bought and never used. For more budget-friendly hacks, check out dollar tree emergency kit items.
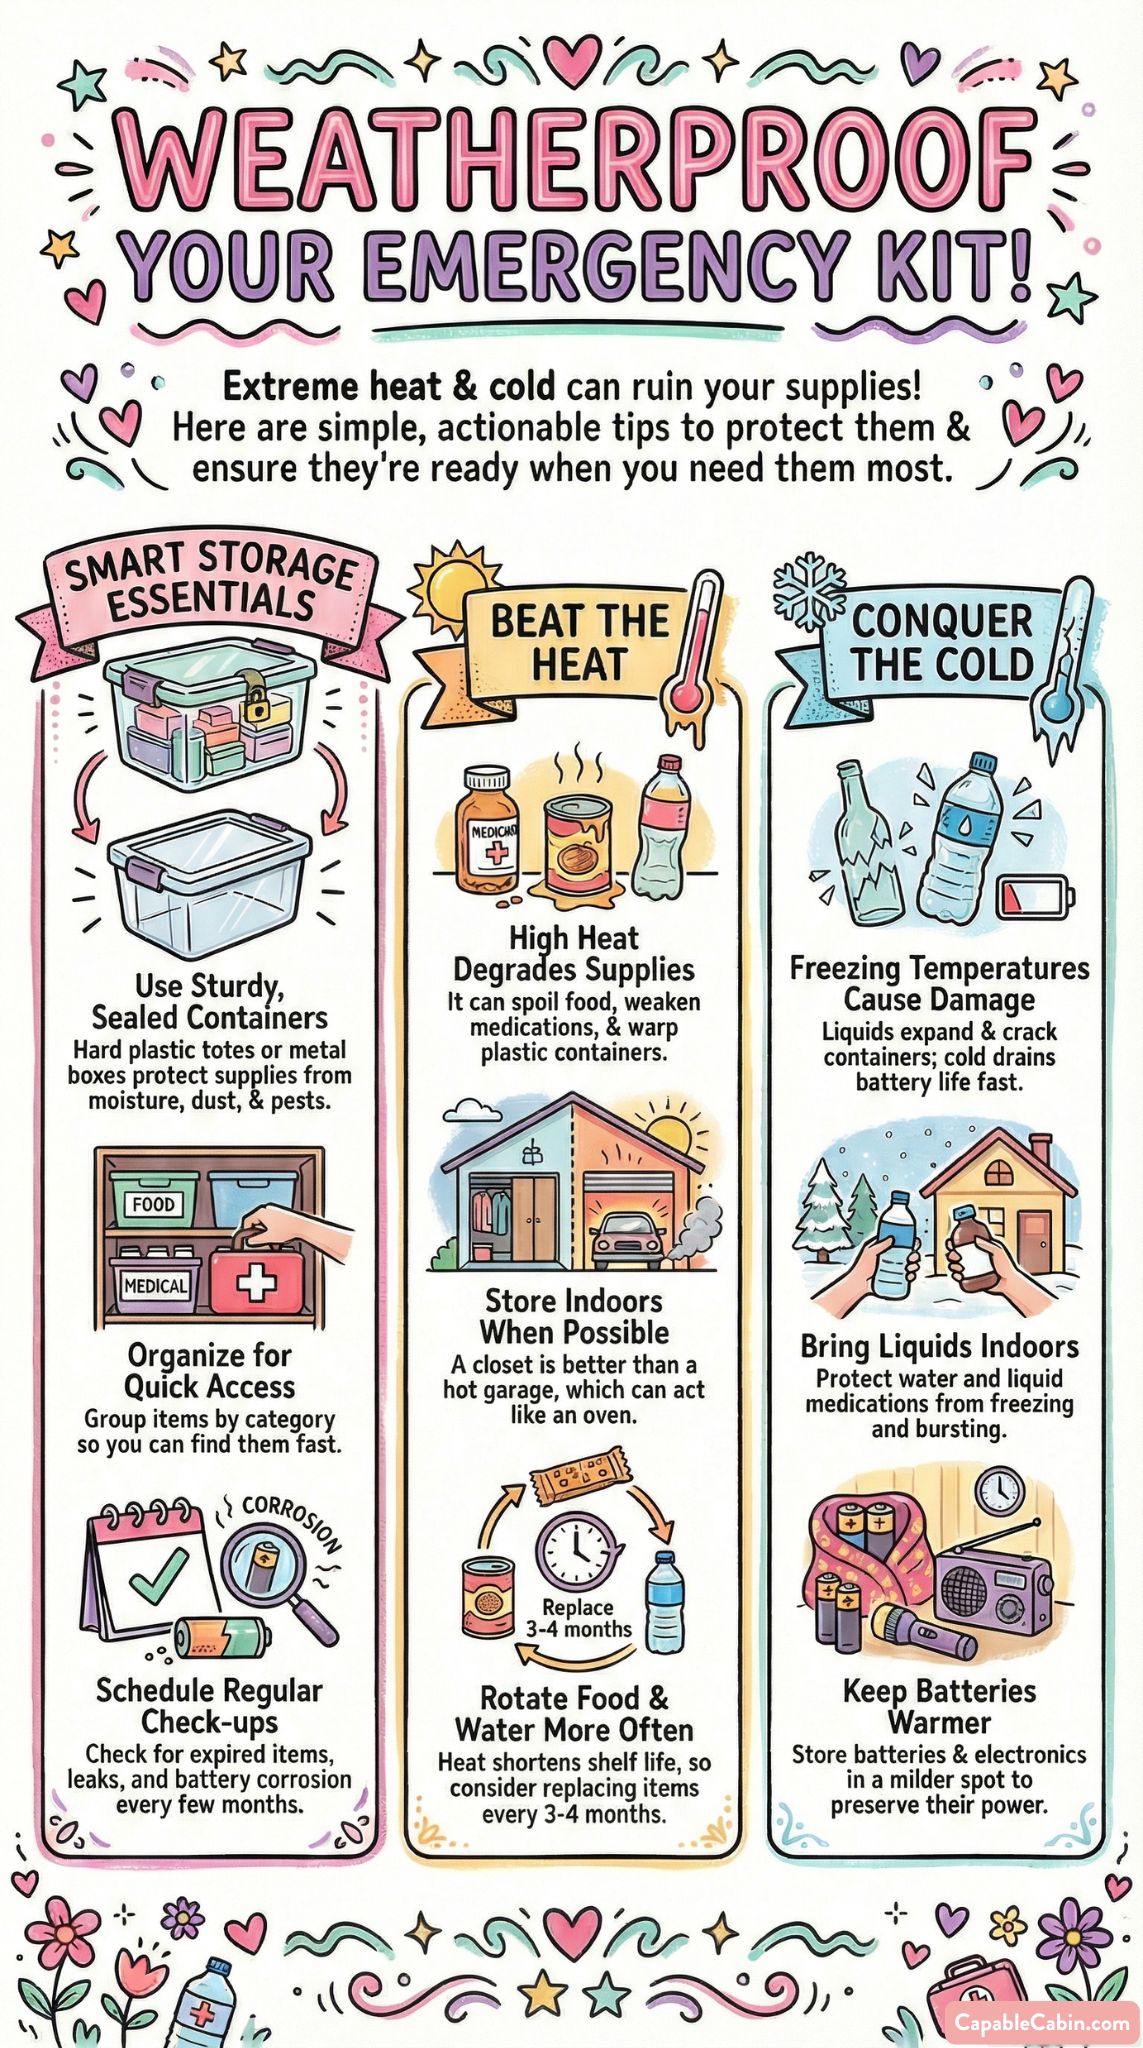
Store Your Kit Without Going Crazy
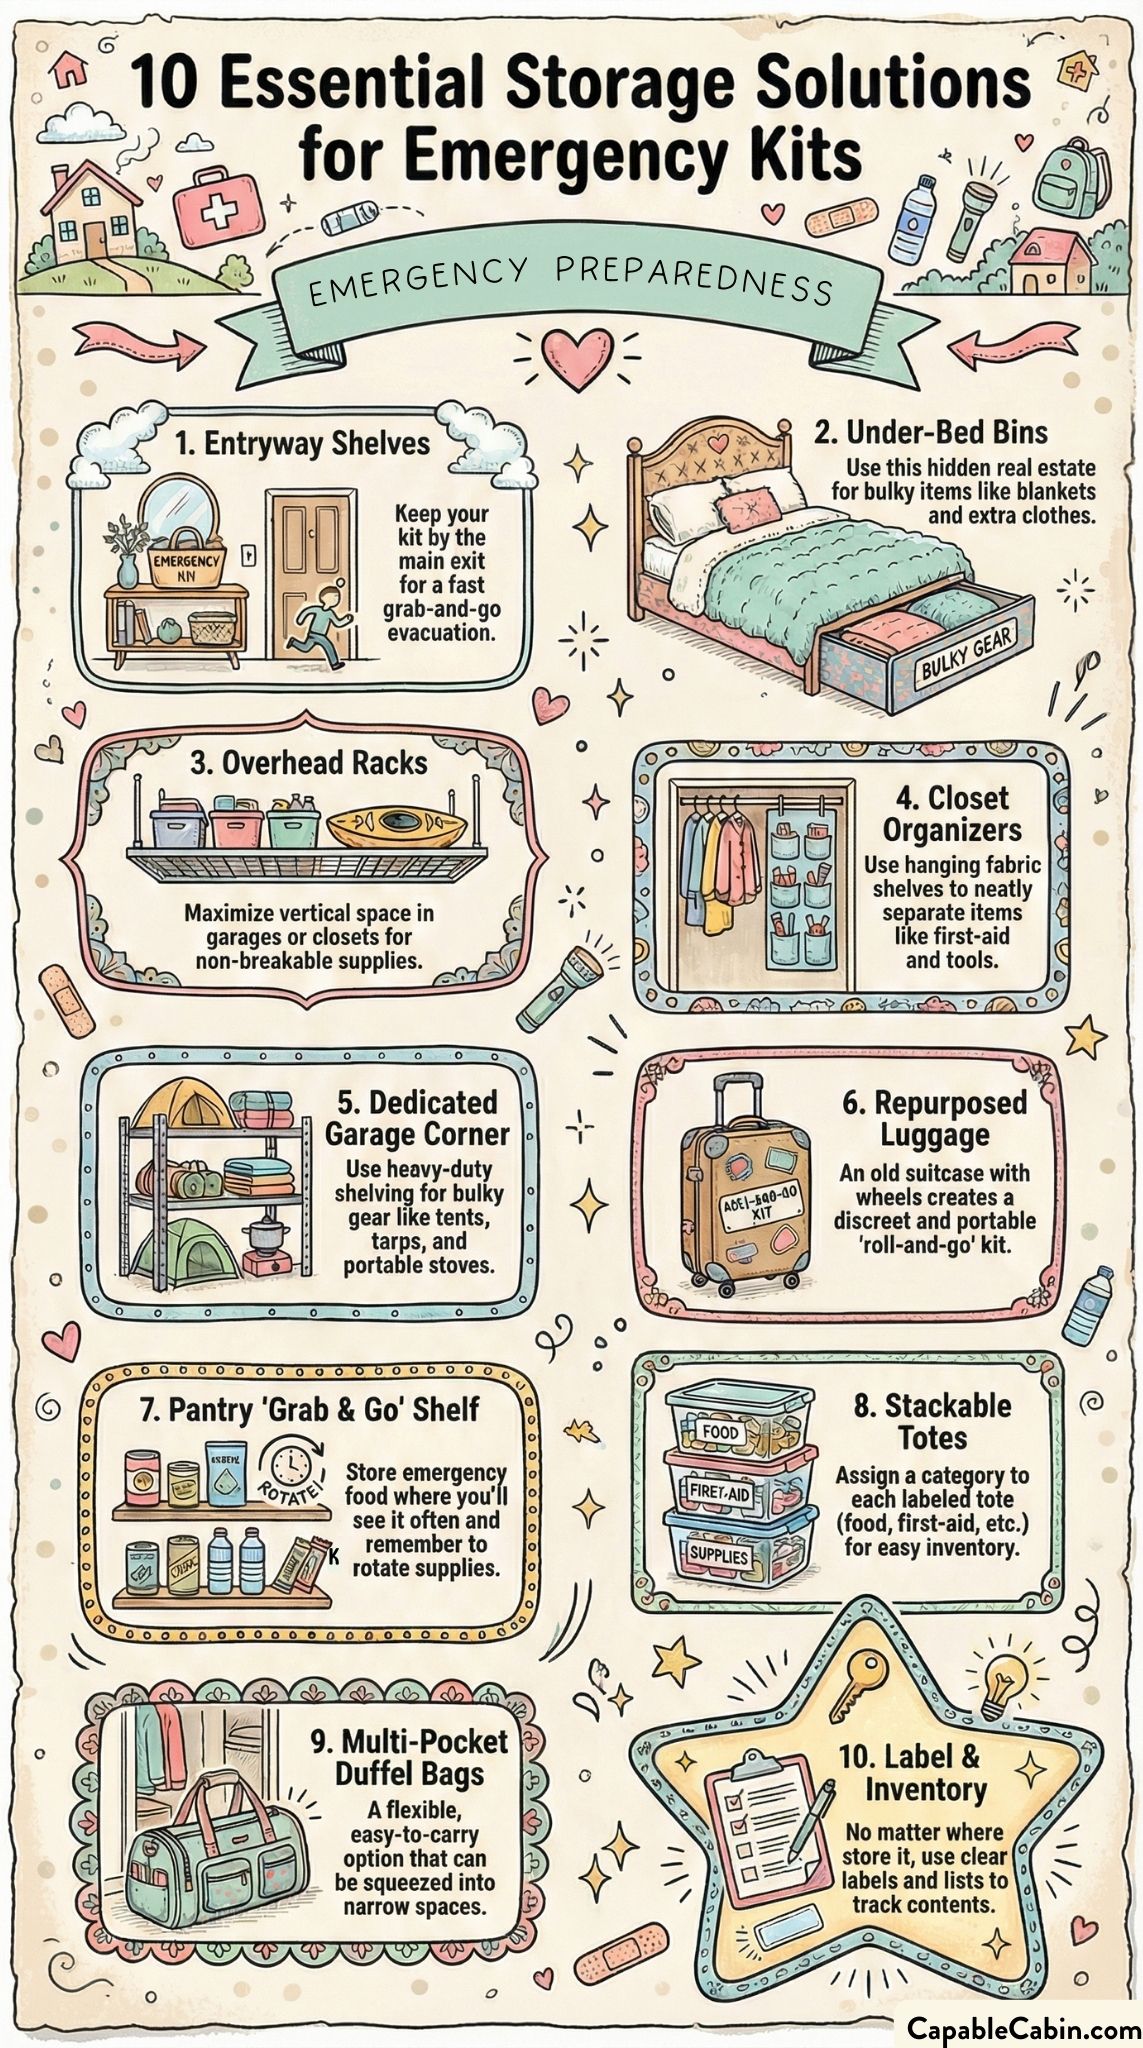
The best emergency kit is the one you can find when you actually need it. If everything is scattered in random drawers and bins, you’ll waste precious minutes trying to assemble what’s missing. Let’s keep storage easy:
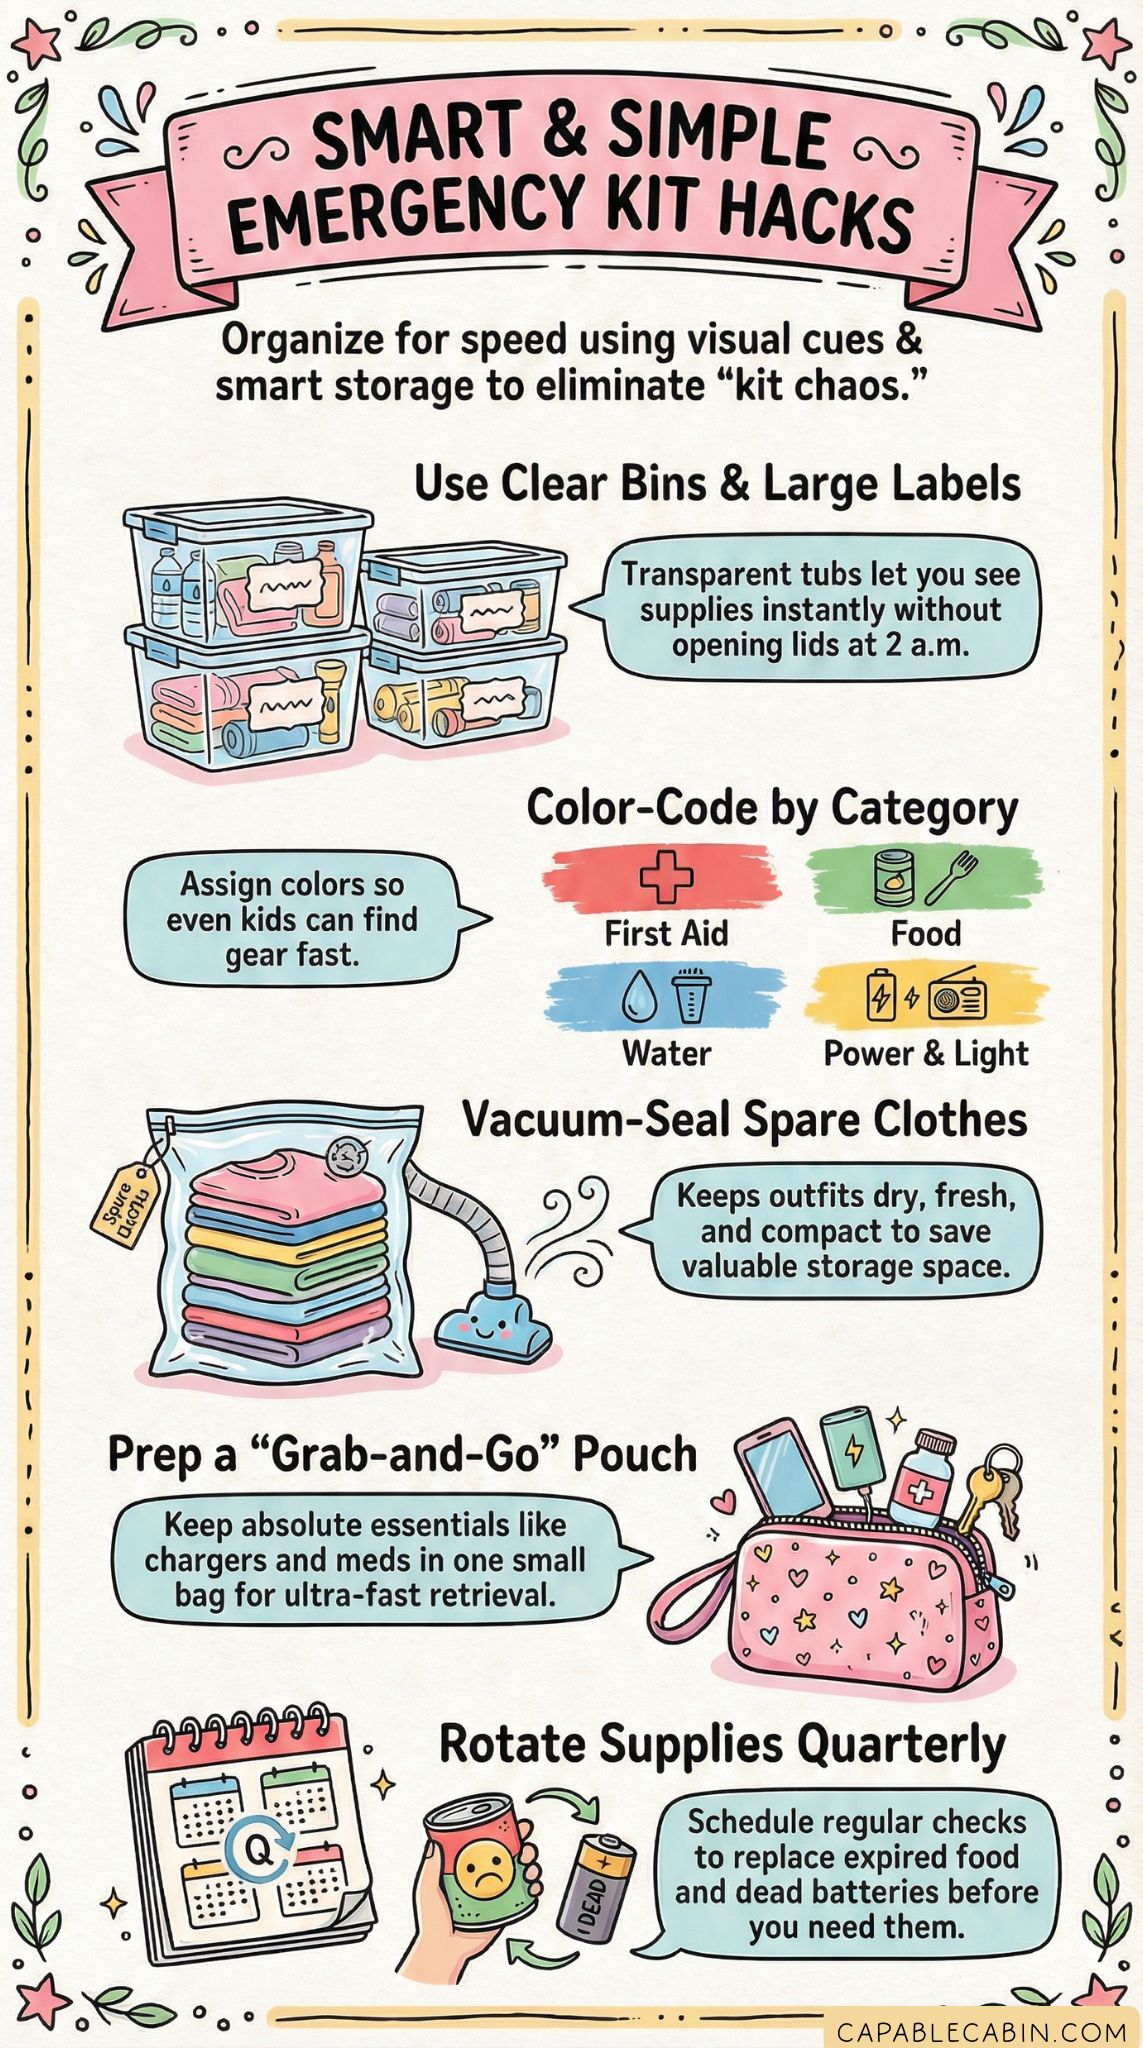
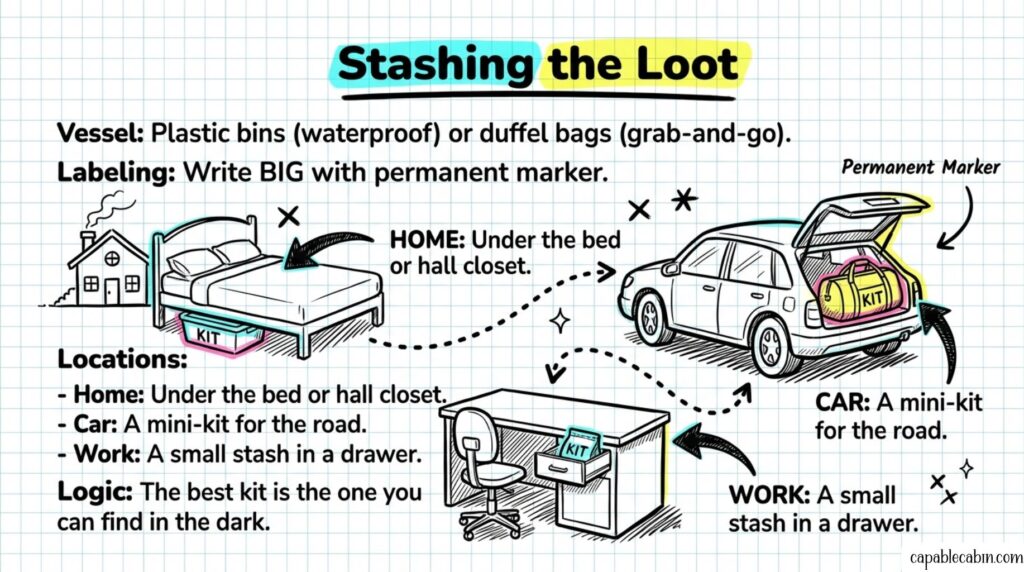
- Label Everything: Use a permanent marker to label bins (e.g., “Food,” “First Aid,” “Tools”).
- Plastic Bins Or Duffel Bags: Ready.gov suggests storing items in waterproof plastic bins or an old duffel bag so you can grab them quickly if you have to evacuate.
- Multiple Locations: Consider having a mini-kit at home, one in your car, and even a small stash at work. Emergencies don’t always strike when you’re within arm’s reach of your main kit. For more workplace tips, you can check out workplace emergency kit guide.
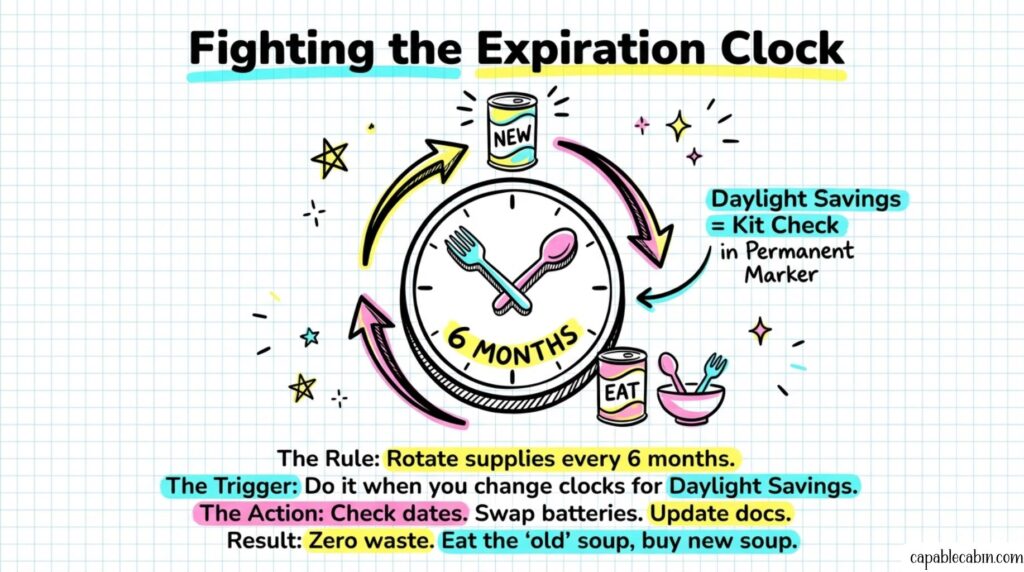
- Rotate Items: Every six months or so, peek at the expiration dates on water, food, and medications. Swap out anything that’s about to go bad. This approach is recommended by NPR and basically ensures you don’t end up with a kit full of expired soup. If you want more details on rotating supplies gently, see rotate emergency supplies no waste.
The point is, you don’t need a fancy shelving system. Simple containers, a label or two, and a little organization can go a long way.
Think About Unique Family Needs
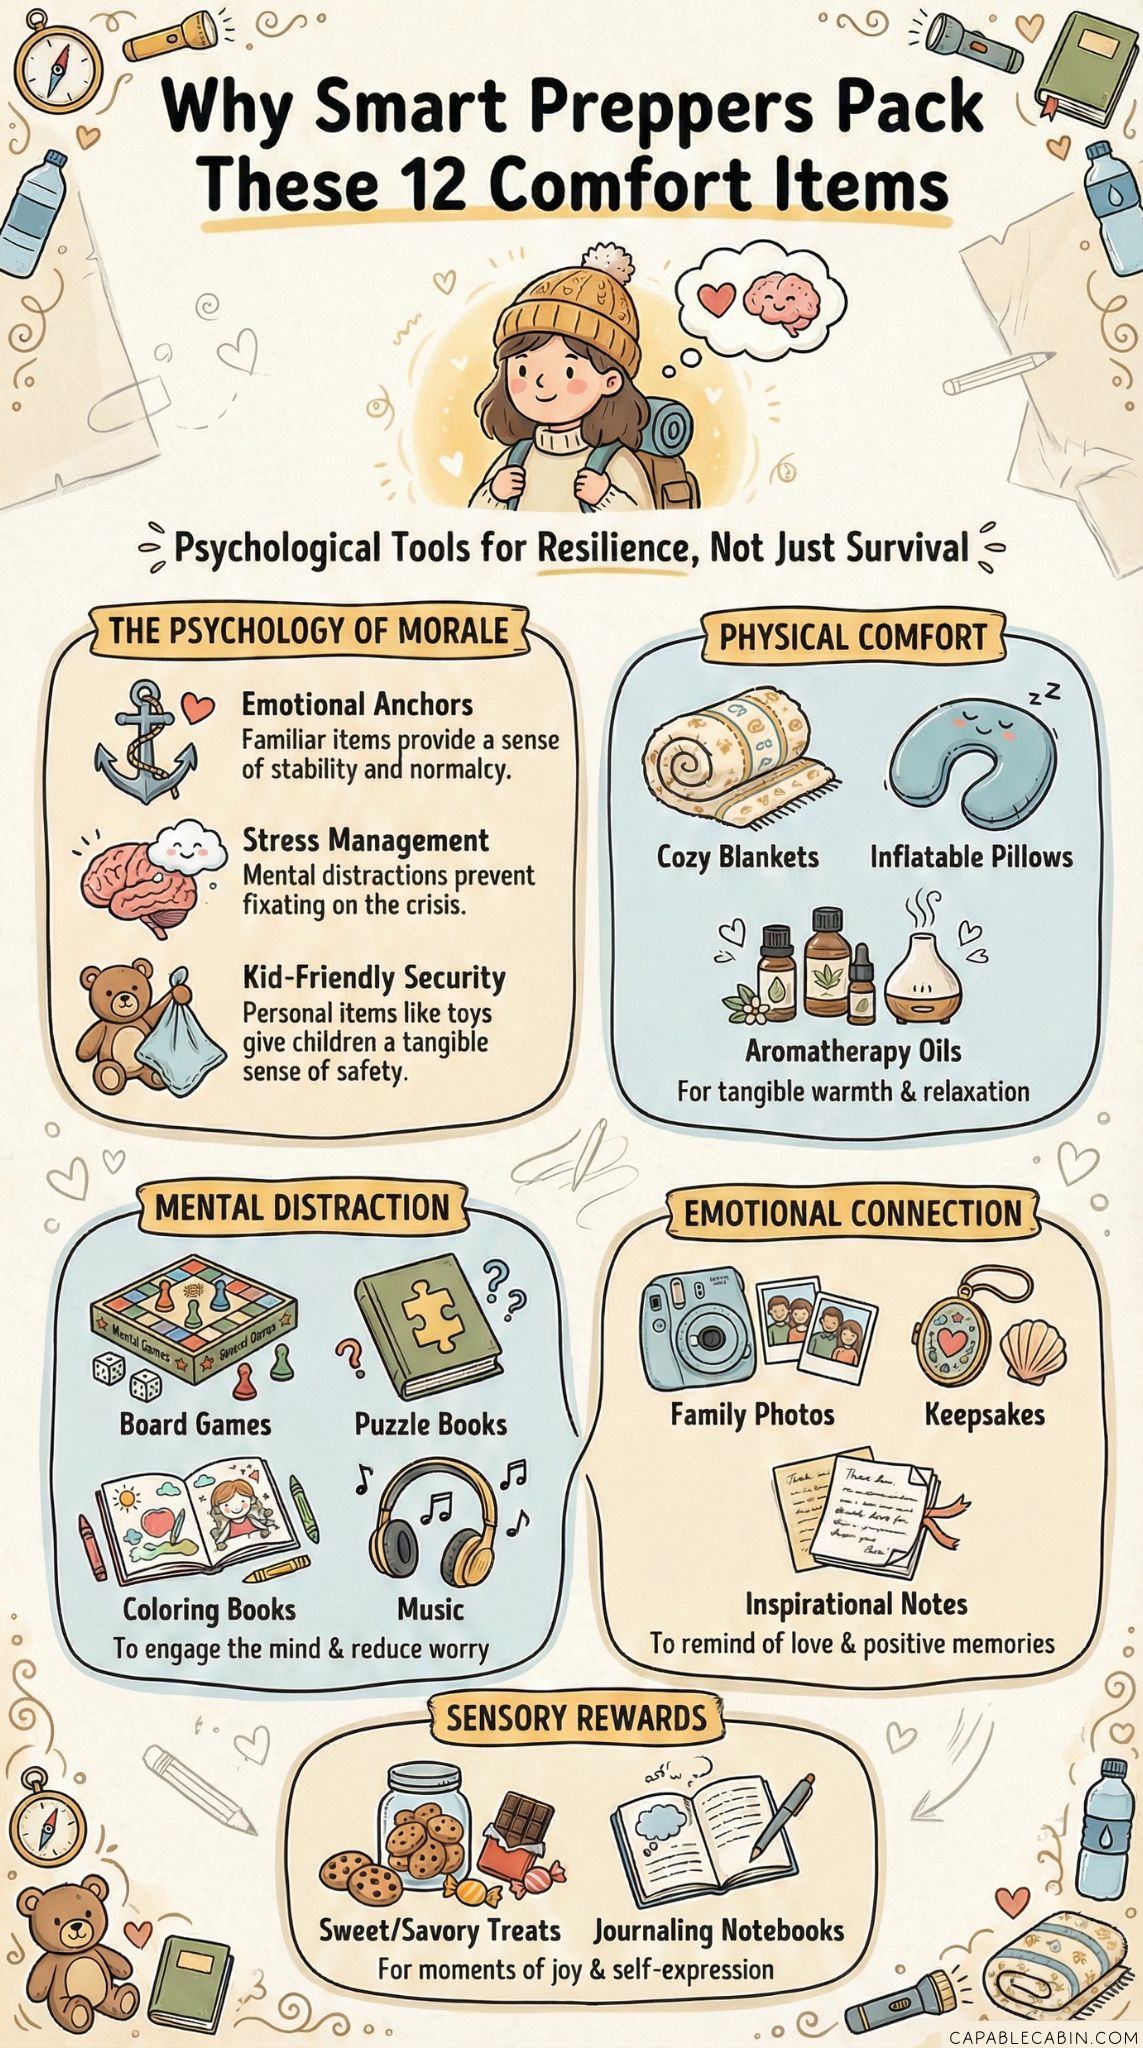
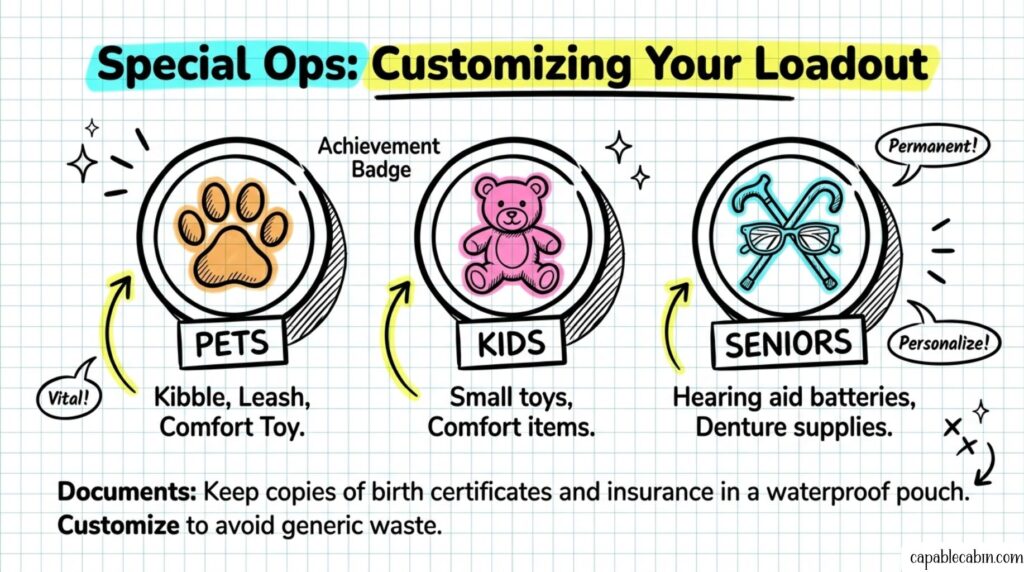
No two households have the same needs. If you have kids, you might want to stash small toys or comfort items to ease stress. If you have a senior family member, maybe you need an extra supply of medications, spare eyeglasses, or hearing aid batteries. If someone has a chronic condition, plan for extra medical supplies. There are tips for that at emergency kit chronic conditions.
Also, if you have pets, don’t forget about them. They may need:
- Pet Food: Store an extra supply of their regular kibble or canned food.
- Leash And ID Tags: If you need to leave home, you’ll want a secure way to keep them close.
- Comfort Item: An old blanket or favorite toy can help reduce pet stress.
By customizing your kit to your household’s specific realities, you ensure nobody is left out. Preparing this way also means you’re less likely to waste money on random items you won’t use.
Keep Costs Down And Spirits High
Let’s face it, none of us want to shell out a fortune for supplies we hope to never use. One tip is tapping into community or family resources. Maybe someone you know has extra canning jars, or your neighbor might have old blankets they’re happy to give away. You can also:
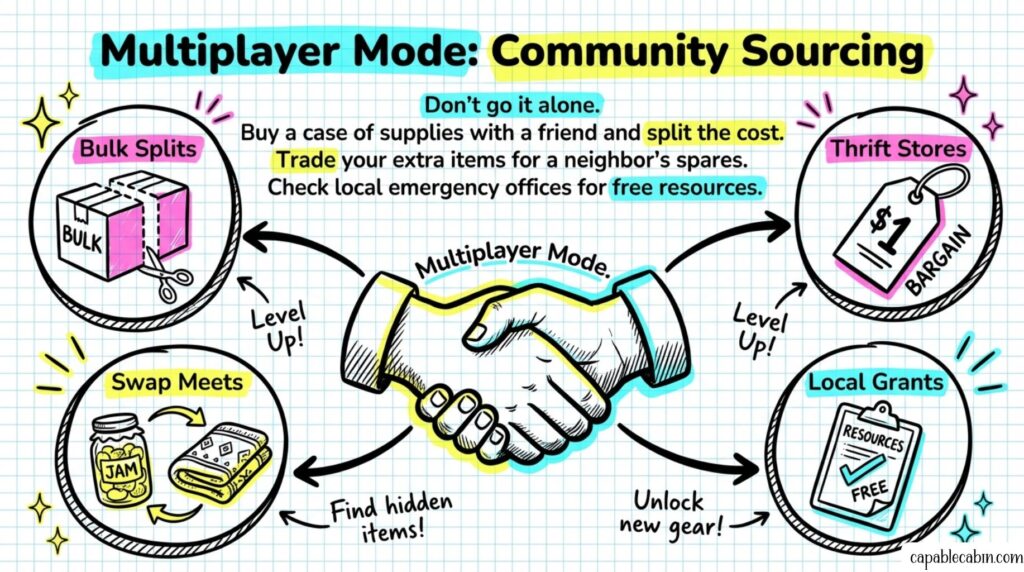
- Host A Supply Swap: Ask friends or neighbors if they have spare items. Exchange gently used gear or even nonperishable foods.
- Buy In Bulk: Split bulk purchases with a friend. You both score lower prices without taking on the full cost alone.
- Reuse What You Own: Old backpacks, plastic bottles, or Tupperware from your cupboard can become emergency storage.
- Look For Grants Or Local Programs: Some communities or local organizations offer free or discounted supplies for low-income households. Check your county or city’s emergency management office.
- Visit Thrift Stores: They often have great deals on blankets, coats, cooking utensils, or even specialized items like camp stoves.
You might even share your successes with others, inspiring them to start their own “budget emergency preparedness kit.” Not only does it create a supportive circle, but it also motivates you to keep building your own kit—no guilt trips necessary.
Maintain Your Kit As Life Changes
Your emergency kit isn’t a one-and-done project. Life keeps moving—maybe you have a new baby, adopt a pet, or move to a new place. Those changes mean your kit may need a little refreshing:
- Adjust For Seasons: If you live in a region with extreme winters, add warm blankets and hand warmers. For hot summers, consider extra water or cooling items. If you want a quick seasonal checklist, see seasonal emergency supply management.
- Check Expirations: Keep tabs on food, water, batteries, and any medical items. Mark your calendar or phone to remind you to refresh.
- Don’t Forget Documents: Store copies of birth certificates, passports, insurance forms, or even phone numbers in a waterproof pouch. If anything changes—like you get new insurance—update those documents.
Because emergencies can happen anywhere, storing kits in multiple spots helps. For instance, create a vehicle emergency kit family if you’re often on the road, or keep a small bag at your office, especially if your work commute takes you a fair distance from home. You’ll feel safer knowing supplies are never too far away.
Q & A
Below, let’s dig into some common questions (and practical answers) about keeping your costs low and your emergency kit effective. Think of this as us sitting together in a cozy cabin, chatting about the nitty-gritty of budget-friendly prepping.
Q1: Do I Really Need To Store So Much Water?
Absolutely. Water is crucial. Experts like Ready.gov say to aim for at least one gallon per person per day, for three days minimum. If that sounds like too much, store what you can and remember methods like purification tablets or filters if you run short.
Q2: How Often Should I Rotate My Kit Items?
A good rule of thumb is every six months. Check food expiration dates, replace old water, and confirm that medications or batteries are still good. If you’re looking for a routine, do it each time Daylight Savings changes.
Q3: Can I Just Use Regular Household Items For My Kit?
Definitely. You likely have more useful stuff than you realize—candles, flashlights, duct tape, or even an extra blanket in the closet. Incorporating these everyday items helps you save money and still stay prepared.
Q4: Is It Worth Buying Any Specialty Gear At All?
It can be if you live in an area with specific risks. For instance, if you’re in tornado territory, you might grab a sturdy weather radio. Or if you camp a lot, a good sleeping bag might pull double duty. Try secondhand shops or online marketplaces to snag deals.
Q5: What If My Home Doesn’t Have Enough Space?
Look for unused nooks and crannies. Under your bed, behind the sofa, or in a hall closet are prime spots to stash a small plastic bin. You can get more space-saving tips in small space emergency preparedness.
Q6: How Do I Keep My Family Motivated About Preparedness?
Make it a group effort. Involve kids by letting them put stickers on your bins or help choose snacks for the kit. Challenge family members to find budget-friendly ways to stock up. It feels far less overwhelming when you divvy up tasks together.
Putting this all into action doesn’t have to happen overnight. Give yourself grace. Setting up a budget emergency preparedness kit is an ongoing process that grows with you and your family. One day, you might be incredibly grateful you started small and early. Meanwhile, you can rest a little easier, knowing you’ve taken a valuable step toward protecting the people (and pets) you love most. You’ve got this. Remember, we’re all in this together—every bit of preparation helps, and every dollar saved can go toward something else your family needs. Stay safe and keep building that kit, one item at a time!