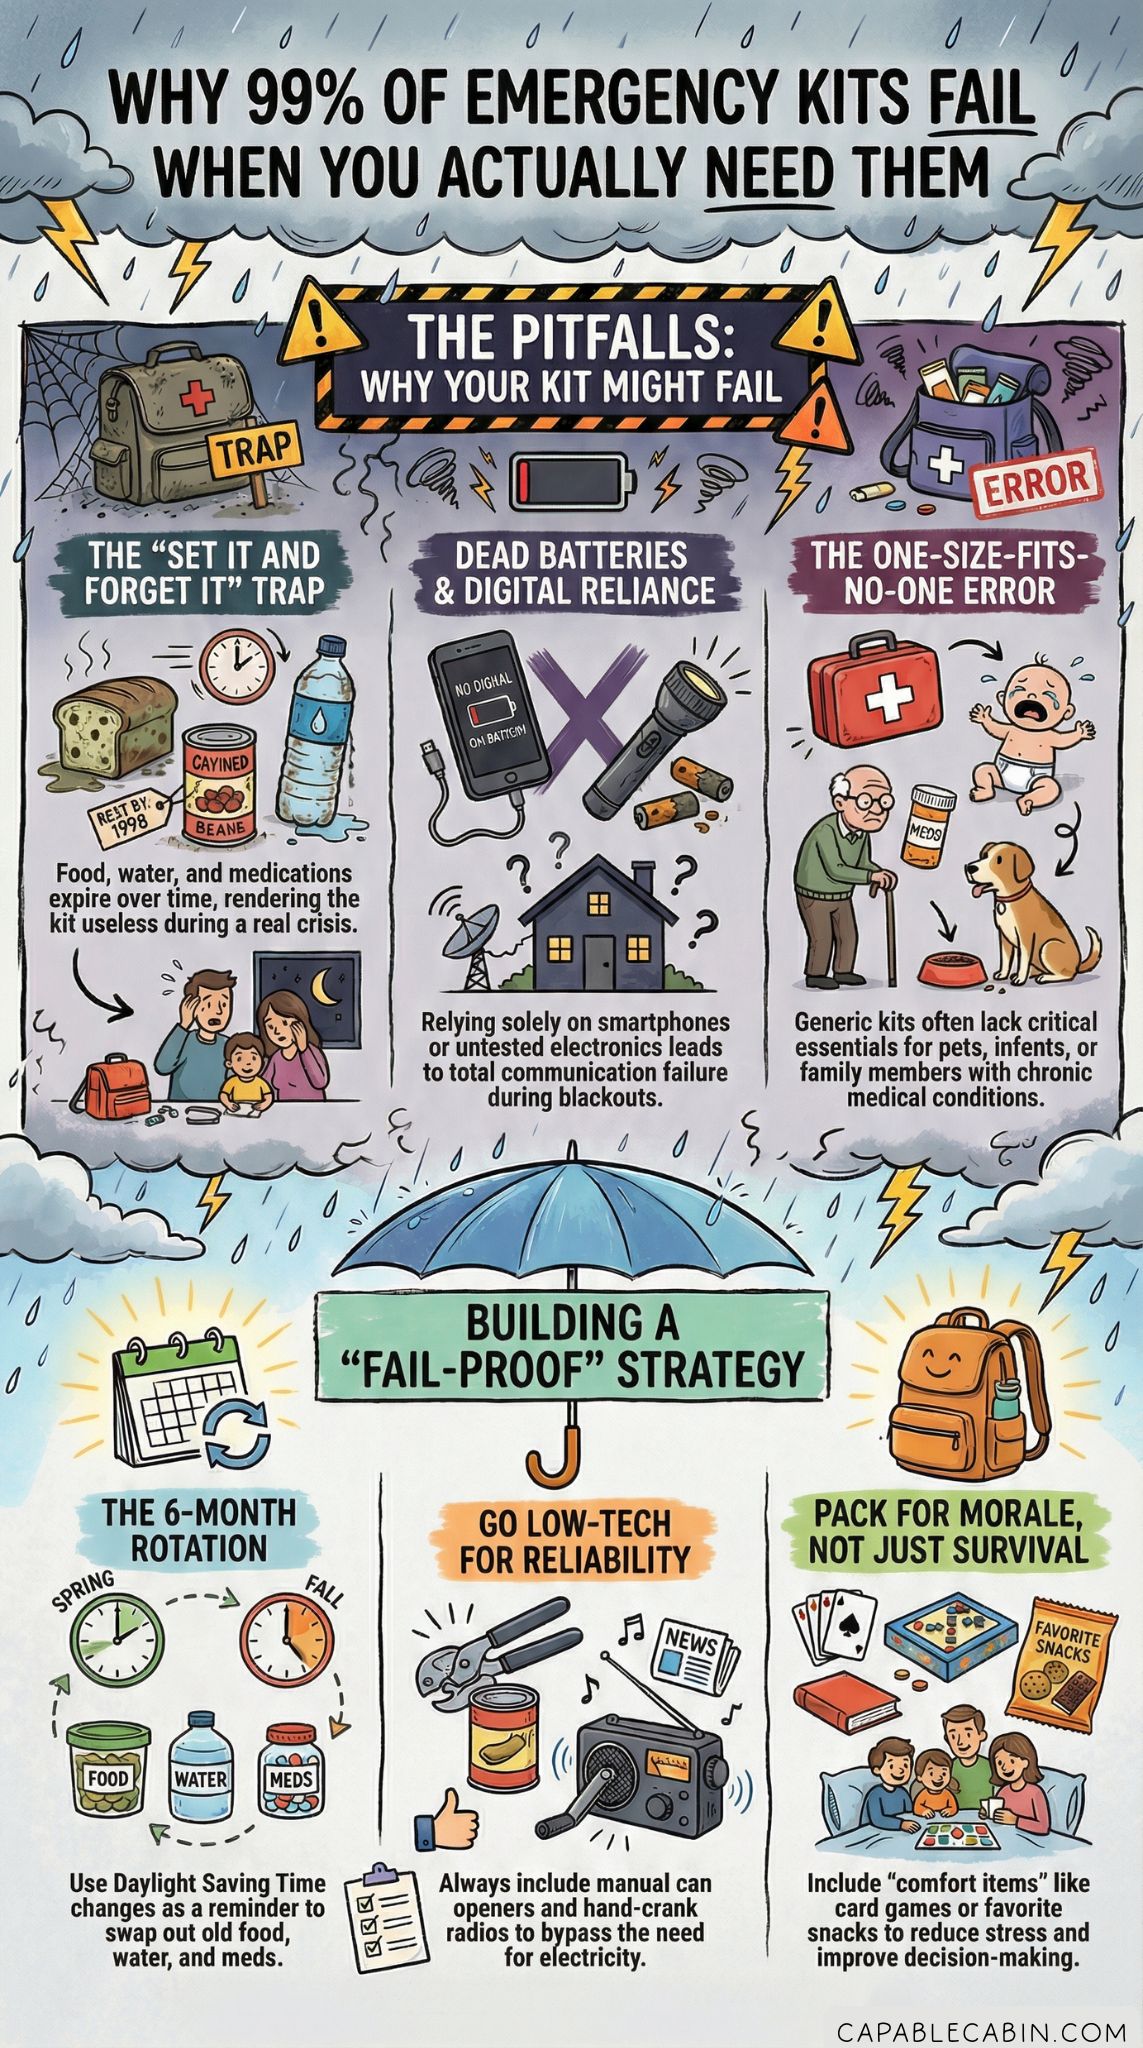
Why 99% of Emergency Kits Fail When You Actually Need Them
If you’ve ever thought about building a 72 hour emergency kit complete with everything your family needs, you’re not alone.
Life can throw unexpected surprises at us—storms, power outages, sudden evacuations—and we want to be ready without complicating our already busy routines. Picture the peace of mind that comes from knowing that if something happens, you have a solid stash of essentials at your fingertips.
But I get it: sometimes emergency prep can feel overwhelming, especially when you’re juggling careers, errands, and family time. The good news? Putting together a kit doesn’t have to be a massive, expensive undertaking.
In this guide, we’re going to walk through every step, from the initial “What do I actually need?” questions to keeping your supplies fresh. You’ll discover how to build an emergency kit that’s budget-friendly, easy to maintain, and truly tailored to your family’s unique circumstances. Let’s go!
Understand The 72-Hour Concept
First things first, what does “72-hour kit” actually mean? The general idea, according to Ready.gov, is that after an emergency, you should be prepared to survive on your own for roughly three days without running water, electricity, or access to stores. It might sound daunting at first, but when you break it down into steps, it’s totally doable.
Why the emphasis on 72 hours? Many emergency situations, such as severe weather events or large-scale power outages, can leave entire regions without basic services for several days.
Within three days, help is likely to arrive, roads might be cleared, or utilities can be partially restored. Until then, you and your family want to manage safely on your own. Think of it as a cushion that gives you food security, hydration, clothing, lighting, and other essentials while you wait for conditions to improve. We’re talking a simple safety net that spares you from last-minute panic runs to the store.
Gather Core Essentials
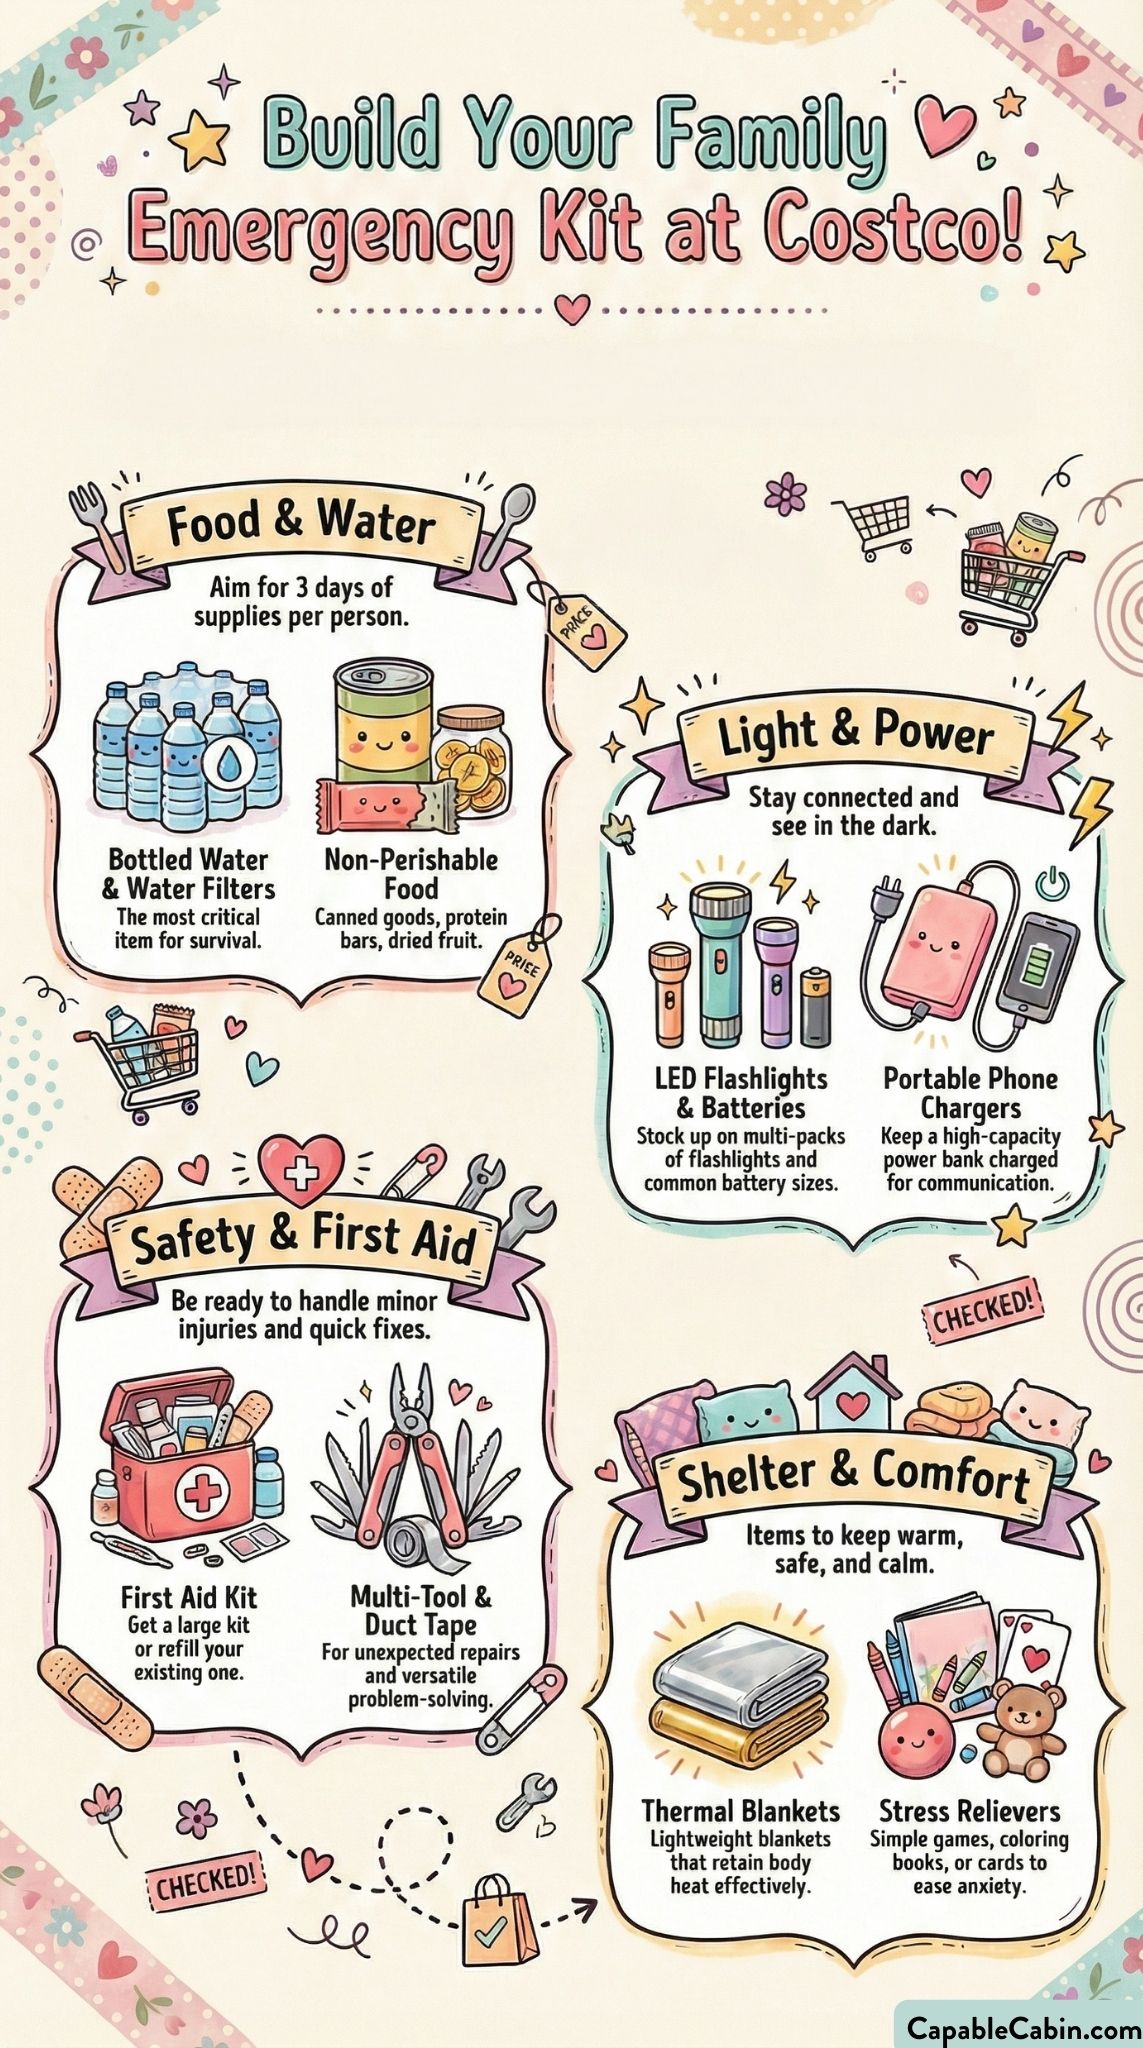
Let’s start with the core of your kit. If you’re feeling overwhelmed, reminding yourself of the basics helps cut through the noise. Here are some primary categories you’ll want to cover:
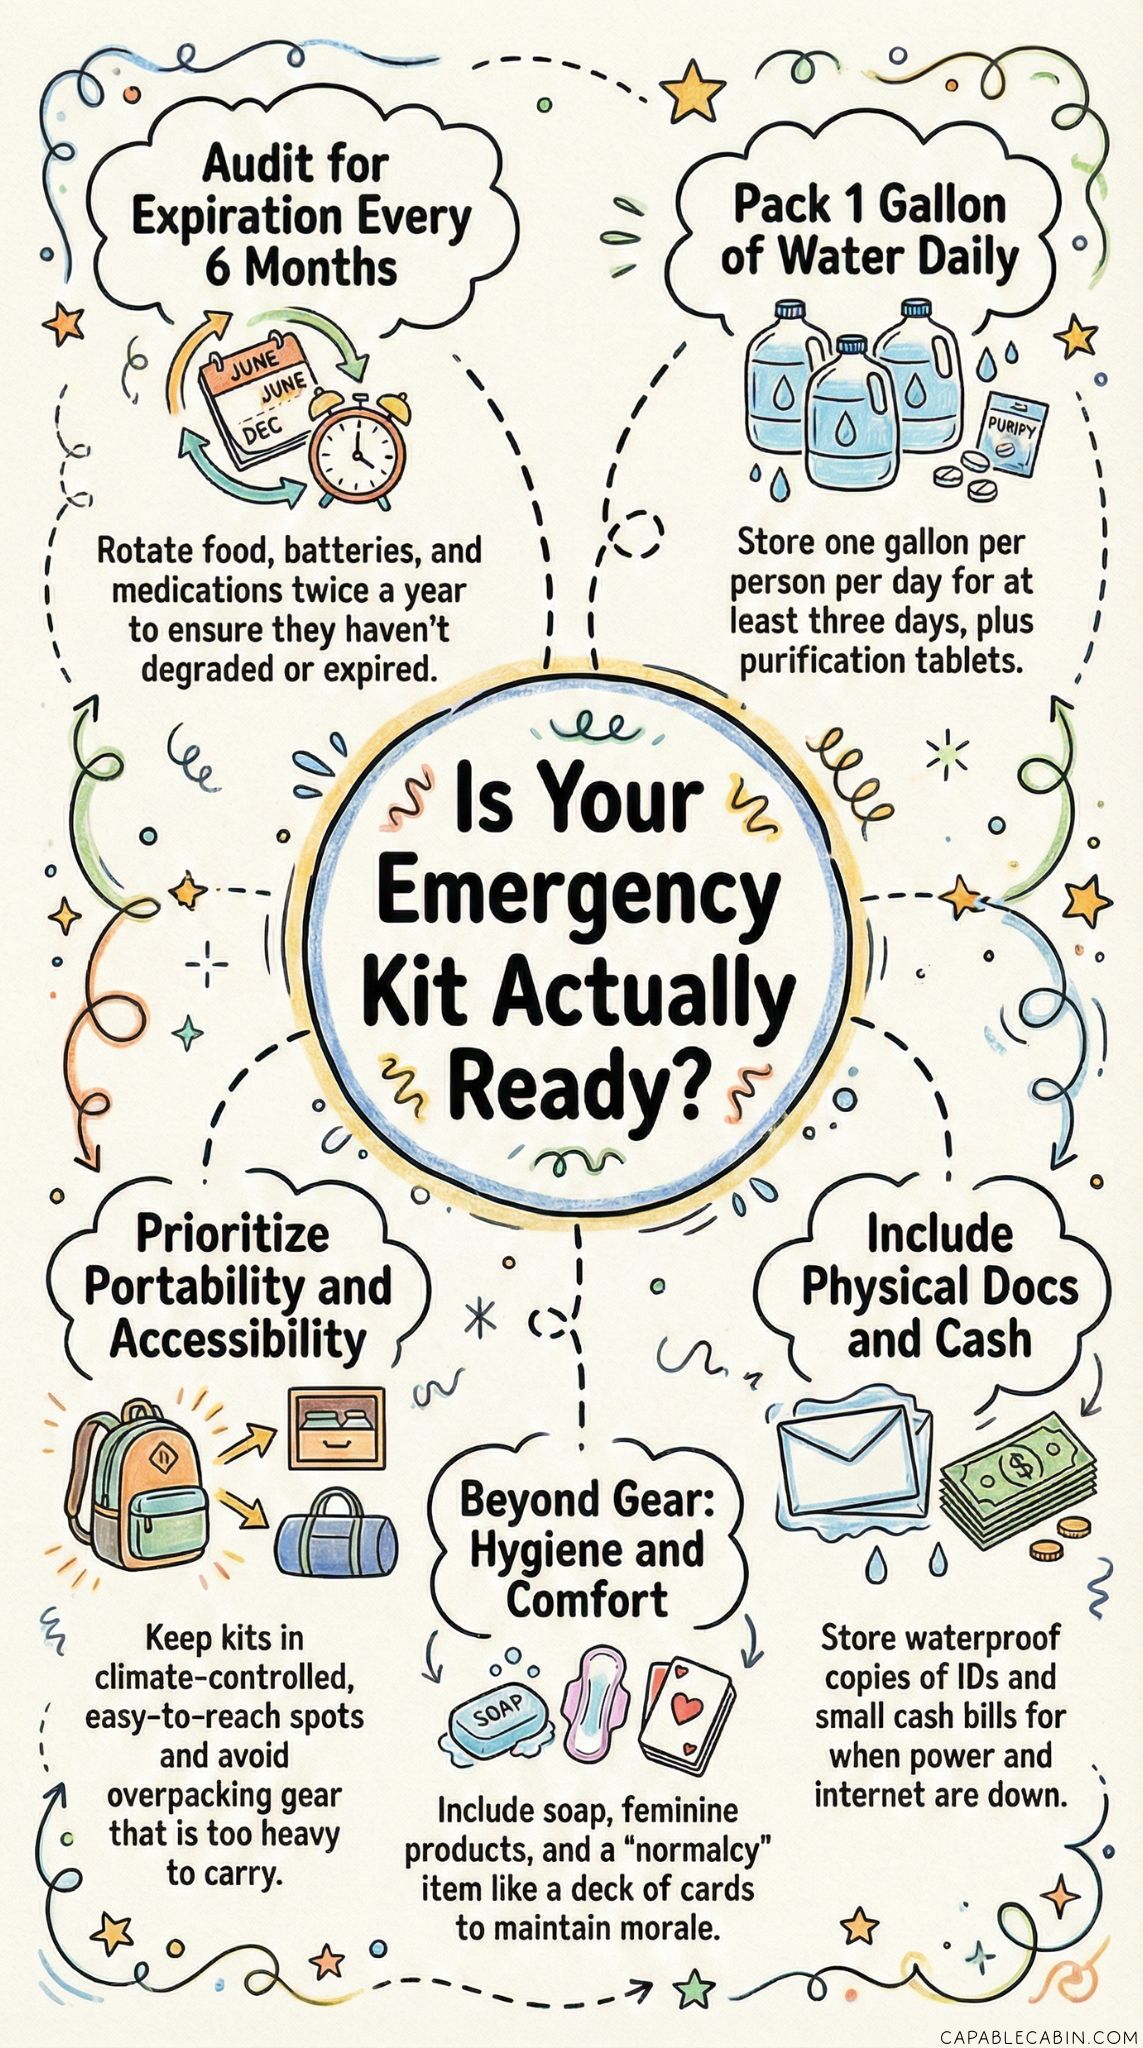
- Water: Store at least one gallon per person per day for three days, which means about three gallons per person total. That gives you enough for both drinking and basic hygiene tasks. You can buy bottled water or fill your own containers. For more in-depth water options, including purification tips, you can check out emergency water storage purification.
- Food: You want non-perishable, easy-to-prepare foods such as canned soups, peanut butter, dried fruits, and energy bars. Aim for a three-day supply for each person. Rotate these foods every six months to keep them fresh.
- Light & Communication: Pack flashlights, extra batteries, and a battery-powered or hand-crank radio. A cell phone charger or power bank is also handy if you have warning of an oncoming storm. In a complete blackout, a radio may be your only news source.
- Cash & Important Documents: Stash small bills and coins in a waterproof bag. Include copies of IDs, medical info, and insurance papers.
According to the American Red Cross, keeping these basics in airtight containers or sealed plastic bags ensures your essentials stay clean and dry. Tuck them inside a duffel bag or sturdy bin so you can grab and go quickly if evacuation becomes necessary.
Prep Food And Water Safely
Food and water are the heart of your 72-hour kit. The challenge? Ensuring you can actually use them when needed—no one wants to open a can and find it’s years past its prime. Let’s break down some simple approaches for stocking up:
- Store Versatile Favorites
Choose shelf-stable foods your family already loves. If you’ve never tried dehydrated meals, for example, test them beforehand so you’re not caught off-guard by flavors or cooking instructions. Keep it simple with items that don’t need elaborate prep, like canned tuna, hearty soups, and ready-to-eat chili. - Rotate Regularly
Every six months (pick easy-to-remember dates, like Daylight Saving Time changes), go through your stash. Move older foods into your pantry for immediate use, restock your kit with fresh cans, and replace any expired items. The Intermountain Healthcare) recommends a consistent rotation schedule, so you’re never left with spoiled or stale goods. - Focus On High-Energy Snacks
Granola bars, dried fruits, nuts, and jerky pack a lot of nutrients into a small space. They’re also good morale boosters. If you ever find yourself stressed during an emergency, a bit of snack comfort can make a difference. - Check Water Expiration
Bottled water can last about two years if stored properly, but check the label and keep it in a cool, dark spot. If you’re filling your own containers, mark the date clearly and swap them out every six months to a year for freshness.
One more tip: keep a manual can opener in your kit. It’s often the little things—like forgetting to open canned food—that can trip us up. You can’t assume power will be available for that electric gadget.
Include Medical And Hygiene Items
It’s easy to focus on food and water, but a well-rounded kit goes beyond that. Medical and hygiene supplies shield you from infections, treat minor injuries, and maintain basic cleanliness. According to Ready.gov, you should consider adding:
- First Aid Supplies: Bandages, gauze, adhesive tape, antiseptic wipes, pain relievers, and any prescription meds you rely on daily. To go deeper, have a look at first aid medical emergency kit for ideas on tailoring a better kit for your family’s medical needs.
- Personal Hygiene: Hand sanitizer, toilet paper, moist towelettes, and trash bags can help you stay clean and reduce the spread of germs.
- Face Masks: These protect you from dust, debris, or airborne particles that might occur during or after natural disasters (like wildfires or building collapses).
- Over-The-Counter Meds: Stock basic cold remedies, stomach relief, and allergy meds. You’ll be grateful for them if you’re stuck inside for days.
- Prescription Refills: If you or a family member relies on critical medication, try keeping an extra supply tucked away in your kit. Rotate it regularly with new prescriptions to avoid expiration.
A neat trick? If you have to evacuate, place your hygiene items in small, clear zipper bags so everyone can see what they need without rummaging. This can reduce stress, especially if you have little ones or older adults needing medication schedules.
Focus On Comfort And Stress Management
Let’s face it, emergencies can be emotionally draining. After all, you’re coping with uncertainty, disruption of daily routines, and your kids (or even you) might feel anxious or scared. Including a few comfort or stress-busting items in your kit can go a long way toward keeping nerves steady.
- Blankets And Warm Layers
If you lose heat or need to stay somewhere unfamiliar, cozy blankets and extra sweatshirts can reassure everyone that they’ll be warm and safe. - Entertainment
Simple card games, puzzles, coloring books, or small toys can keep kids occupied. For adults, a favorite book or a downloaded playlist on a portable device can help you momentarily escape the worry. - Family Photos Or Notes
Sometimes, a small photo or handwritten note can be an emotional anchor. It’s a reminder of your togetherness in the midst of crisis. - Comfort Snacks
We’re talking about that secret stash of chocolate squares or instant coffee packs. These little mood boosters can create a sense of normalcy.
This might sound optional, but in a real emergency, morale matters. When everyone’s calm and comforted, decision-making improves, tension decreases, and you’re better prepared to navigate any tough choices.
Factor In Special Needs
Every family is unique, from infants to seniors, from beloved pets to chronic medical conditions. A “one size fits all” approach misses crucial details. So let’s customize:
- Infants And Toddlers
Diapers, formula, baby food, bottles, and wipes. If your baby has a favorite pacifier or blanket, consider duplicates so you’re not left scrambling. - Seniors
Potential additional medications, hearing aid batteries, mobility devices like canes, and comfort accessories (cushions, ergonomic supports). - Chronic Conditions
If anyone in your family depends on oxygen tanks, dialysis, or other life-sustaining treatments, be sure to have a plan. That might include back-up batteries, a battery-powered refrigeration method for insulin, or a pre-arranged spot to continue treatments. For more deep-dive ideas, see emergency kit chronic conditions. - Pets
Our furry (or feathered, or scaly) friends need emergency supplies too. According to the CDC, a pet kit should include extra food, water, medications, leashes or carriers, and copies of vaccination records. For more tips, Ready.gov suggests keeping an extra collar with an ID tag in case you get separated.
Even if your loved ones don’t fit neatly into any one category, it’s all about asking, “What extra support might they need if we can’t leave home or if we have to evacuate quickly?” This reflection will help ensure that your 72-hour emergency kit is truly complete for your household.
Sustain And Rotate Your Kit
Putting everything together is just the first step. The real key is maintaining your supplies. Otherwise, you might crack open your kit in a disaster and find stale crackers, dead flashlight batteries, or expired medications. We definitely want to avoid that disappointment.
- Schedule Check-Ins
Every six months, pick a reminder on your phone or calendar. Review expiration dates on food, medications, and water. Swap out anything that’s close to expiring and use it in your normal routine before it goes bad. - Check Clothing Sizes
If you included clothes for fast evacuations, make sure they still fit your growing kids. A warm hoodie that fit last summer may be too small now. - Replace Batteries And Flashlights
Store extra batteries outside of your devices to prevent corrosion. Test flashlights and battery-powered radios to confirm they still function. - Print Updated Documents
If you’ve moved, changed insurance providers, or renewed a driver’s license, make sure the updated copies are in your kit. Having correct and current IDs or medical info can be priceless, especially if you need immediate emergency assistance.
This rotation routine might feel like a hassle now, but trust me, it’s so much easier than waiting until the very last minute to discover half your kit doesn’t work. Regular maintenance also keeps your kit relevant to your family’s changing needs.
Expand For Pet Preparedness
Pets are family too, which means they deserve a thoughtful approach to emergency planning. Imagine the stress of an evacuation if you don’t have the right resources for them. To keep them safe and comfy:
- Food And Water
Aim for the same three-day supply, adjusting for your pet’s size. - Medications
If your pet takes a specific medication, ask your vet if you can have a small backup supply. - Identification
Keep a spare collar, along with copies of vaccination records and microchip details. - Comfort Items
Favorite toy or blanket to reduce anxiety. - Transport
A sturdy carrier or harness is critical if you need to leave quickly.
Ready.gov recommends storing these items in an easy-to-carry bag so you can grab it without fumbling. If you have multiple pets, label each bag clearly. That way, you avoid confusion if you have to grab everything at once.
Maintain Readiness Everywhere
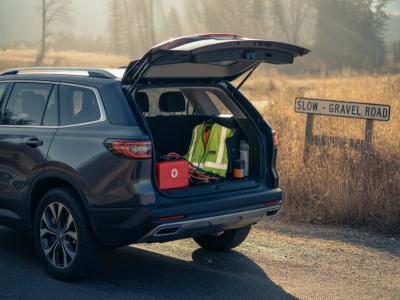
Here’s a thought: emergencies can strike while you’re on the road, at work, or dropping kids off at activities. That’s why organizations like FEMA encourage you to keep smaller, specialized kits in your vehicle, office, or anywhere else you frequently spend time. You don’t need a massive duffel bag everywhere you go, but a scaled-down version of your main kit can provide life-saving supplies if you’re temporarily stuck.
- Home Base
Your main kit likely lives at home. For an extra layer of preparedness, consider building a home emergency supply system that gives you more robust coverage if you need to stay put for longer than three days. - Vehicle
A separate vehicle emergency kit family might include jumper cables, flares, blankets, extra water, and a few non-perishable snacks. - Workplace
Having a workplace emergency kit guide helps you handle unexpected lockdowns, weather events, or other crises when you can’t immediately go home.
By embracing these different kit types, you spread your preparedness net to cover the various places you and your family spend time. You don’t have to go overboard—just a few smart additions in each location can make a world of difference.
Think About Affordability And Storage
One common hurdle with emergency prep is cost. The truth is, you don’t need to spend a fortune to feel confident. If money is tight, approach your kit in stages. Grab a few items each paycheck, or keep an eye out for sales. You could even shop at discount or dollar stores to fill basic needs—see dollar tree emergency kit items for thrifty suggestions.
Storage can also be tricky, especially if you live in a smaller space. Here are a few strategies:
- Use Vertical Space
An unused closet shelf or corner of your pantry can be the perfect spot to store plastic bins. - Under Beds Or Sofas
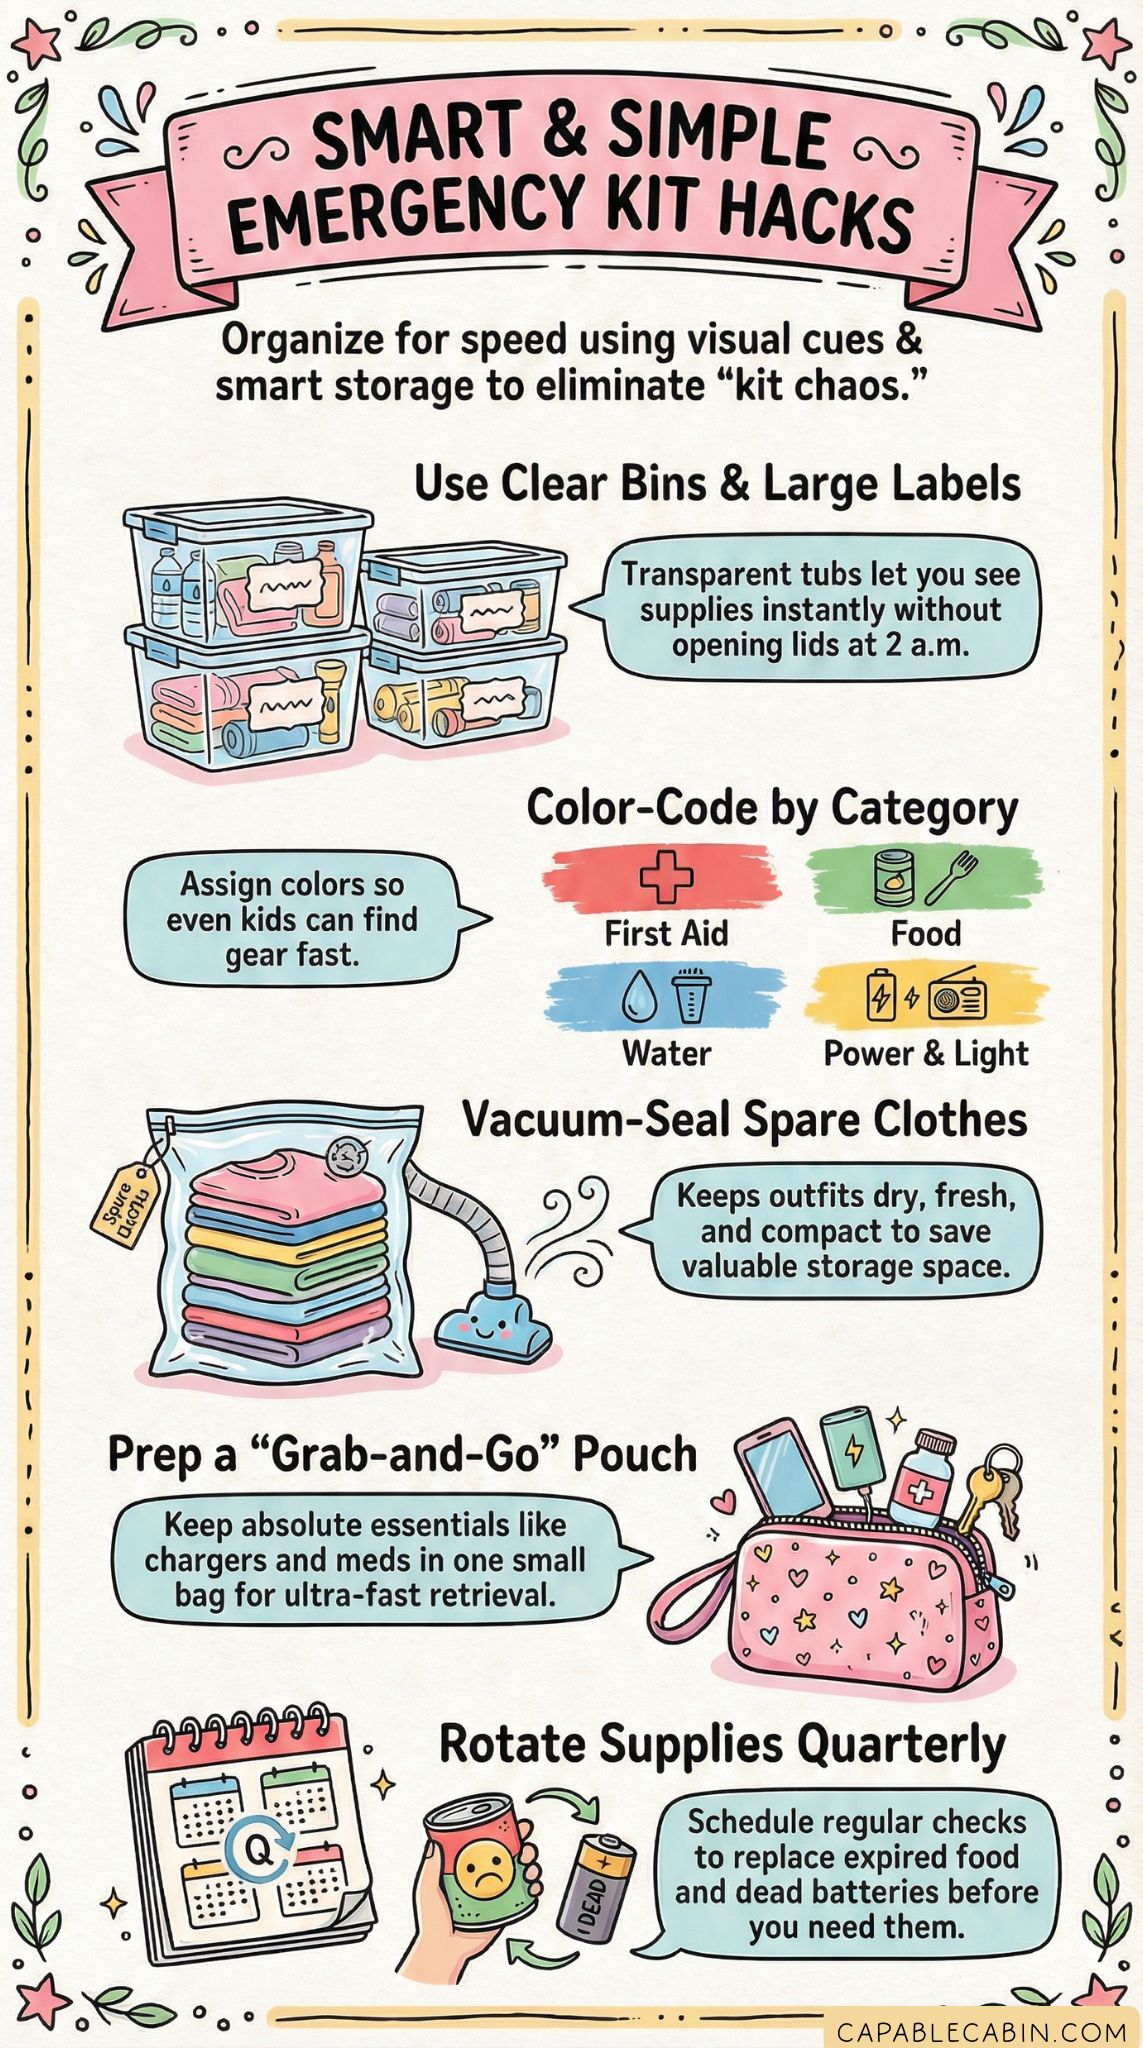
Slide shallow bins underneath if space is at a premium. It might be a bit dusty down there, so make sure everything is sealed. - Label Clearly
In an emergency, you don’t want to scramble, opening random bins looking for your kit. Slap on a visible label so everyone in the family knows where to find it. - Consolidate
If your kit is scattered, you may forget important pieces. Keep as many emergency items in one big bag or bin as possible, so you can grab it all at once and leave quickly.
For more ideas, feel free to check out emergency kit storage solutions. We’re all juggling limited space, and a little creativity goes a long way to ensure you have your kit where you need it.
Prepare For Power Outages
Power outages rank amongst the most common emergencies a household faces. Even a short blackout can disrupt cooking, heating, or medical equipment. A bad storm could knock out power for days. This is where your kit’s flashlights, batteries, and radio really shine. Think about:
- Alternative Light Sources
In addition to flashlights, battery-powered lanterns can illuminate an entire room. - Extra Batteries
Keep AA, AAA, and any special batteries your devices might use. - Backup Power
Portable phone chargers or small power banks help you stay connected if your phone is running low. For further reading, see power outage emergency supplies. - Gas Stoves And Generators
If you have the means, a small generator can keep your fridge or critical medical equipment running. Always operate generators outdoors to prevent carbon monoxide buildup.
When the lights go out, you’ll be grateful you have multiple ways to see your surroundings, stay warm, and keep in contact. Don’t forget a manual thermometer so you can check if your fridge or freezer has gone above safe temperatures, especially if the outage stretches on.
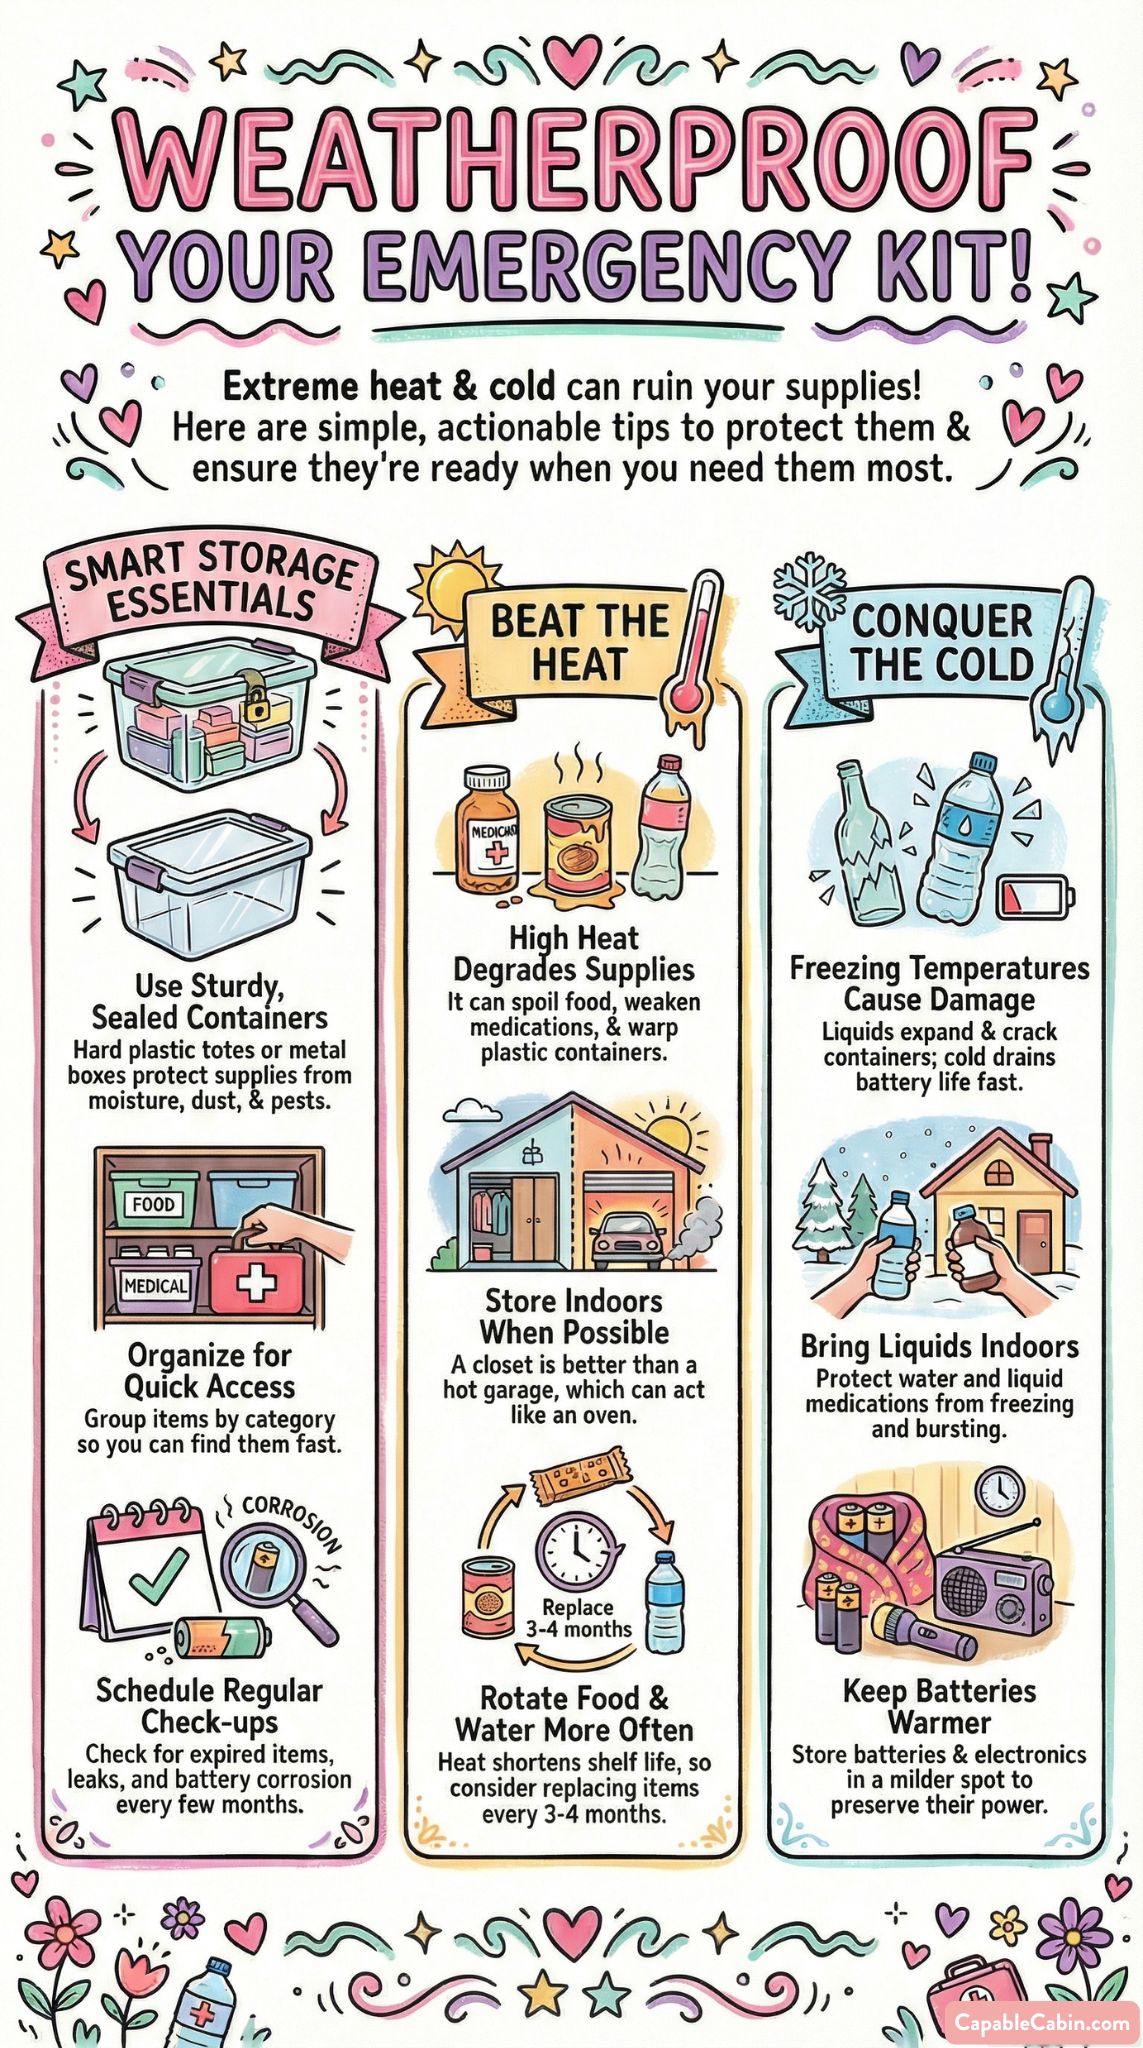
Tackle Seasonal Adjustments
Your environment can change dramatically from winter to summer, and so can your emergency needs. While you don’t have to create a brand-new kit every season, small tweaks help you stay comfortable and safe.
- Warm Extras
In colder months, swap in heavier blankets, hats, and gloves. For more in-depth winter advice, see winter emergency kit essentials. - Heat-Resistant Items
Summertime calls for plenty of water, sunscreen, bug spray, or a battery-operated fan. Check out summer emergency kit items for simple ideas. - Seasonal Foods
If certain canned foods run the risk of exploding or spoiling in high heat, be mindful of how and where you’re storing them. - Ventilation
Make sure any gear that generates heat or requires ventilation is not stored in a scorching hot attic or a damp basement.
It sounds like a lot, but once you get the hang of it, these seasonal changes become a quick 15-minute chore. You might already be switching out winter clothing for summer anyway, so just add a few steps to maintain your emergency kit at the same time.
Keep Your Family Involved
Emergency preparedness shouldn’t be a lonely project. Getting the whole family on board not only lessens your own workload but also ensures everyone knows the plan. When kids understand the basics—like where the kit is, how much water they need, or where to meet if you’re separated—they can stay calmer if something does happen.
- Family Meetings
Sit down briefly a couple times a year. Review what’s in the kit, why each item matters, and how to use it. - Hands-On Practice
Let kids try opening cans with the manual can opener or practice setting up a flashlight. This boosts their confidence. - Assign Tasks
Sometimes it’s helpful to have each person responsible for one part of the kit. Maybe your teenager is in charge of checking snack expiration dates, while you keep track of medical supplies. - Get Creative
Turn the learning process into a game, especially for younger kids. You can do pretend “blackout” drills where you practice what to do if the lights go out.
The goal is to ensure no one’s fumbling in the dark—literally or figuratively—when an emergency arrives. A quick annual family refresh helps keep everyone on the same page.
Double-Check Common Pitfalls
You’ve done all this work, so let’s sidestep a few mistakes that can undermine your preparedness. According to Ready.gov and other experts, these are the frequent pitfalls:
- Forgetting Medications
It’s easy to remember water and flashlights, but forgetting a life-saving prescription can be risky. - Over-Reliance On One Tool
Don’t rely on your smartphone alone. A dead battery or lack of signal can leave you cut off. Always keep a manual radio. - Ignoring Expiration Dates
Forgetting to check them can lead to rotten food or useless medicine. - No Plan For Evacuation
A kit is only as effective as your ability to grab it and go. Practice how you’d load it into your car or carry it on foot.
If you want a deeper look into common missteps, see emergency kit mistakes avoid. A handful of thoughtful tweaks will help you bypass these trouble spots and keep your kit effective.
Embrace Simple Upgrades Over Time
Once you have your kit established, you can refine it at your own pace. Think about small enhancements that might serve your family well:
- Solar Chargers
A little solar panel charger can top up your phone or radio batteries without needing an outlet. - Portable Water Filters
If bottled water runs low, a lightweight water filter can be a lifesaver during extended emergencies. - Better Storage Bins
Switching to more robust, weather-resistant bins ensures your supplies stay intact if they’re exposed to moisture. - High-Quality Lanterns
LED lanterns can light up an entire room using less battery power than older models.
These aren’t mandatory right away, so don’t sweat it if your budget or time isn’t flexible enough right now. Focus on building a strong foundation, then add these perks as you go. For ideas on which additions are worth investing in, you could check out emergency kit upgrades worth buying.
Cabin Chat
Below, you’ll find some of the most common questions folks ask when putting together a comprehensive 72-hour kit. Let’s dive in.
- How Often Should I Update My Kit?
Updating every six months is a great habit. That’s enough time for foods or meds to inch closer to expiration, plus kids can outgrow clothing quickly. A quick check twice a year can save you headaches in a real emergency. - Can I Use My Kit For Everyday Convenience?
It’s best to keep your emergency supplies intact. If you rely on your stash of canned goods for random meals, you might forget to replace them. However, if you rotate items purposefully—using older items and replacing them with fresh—your kit stays current without waste. - What If I Don’t Have Extra Space?
Storage can be tricky, especially in smaller homes or apartments. Look for creative spots—under beds, behind couches, or on high closet shelves. The goal is to keep everything together so you can grab it quickly. - Should I Pack Tools Like Wrenches Or Shovels?
Light tools can be useful, but it depends on your situation. If you live in an earthquake zone, a wrench to turn off gas lines may be essential. If you’re rural and deal with snowstorms, a small shovel or ice scraper might help. Think about the emergencies you’re most likely to face and plan accordingly. - How Do I Manage Medications That Need Refrigeration?
This can get trickier. You might use a small cooler with ice packs, but make sure you can replace or rotate them. If you have access to a generator or specialized medical cooler, add that to your plan. Consult your healthcare provider for a safe backup strategy. - Do I Need A Separate Go Bag For Each Family Member?
Often, yes. If your kids are old enough to carry a backpack, giving them a smaller version of the kit fosters responsibility. For toddlers, you’ll likely pack all their essentials in your main bag, but older kids can handle some of their own items. - Where Should I Keep The Kit?
Ideally, a spot that’s secure yet easy to grab if you have to leave home in a rush. A front closet or a spot near an exit is a good call. Remember to label it clearly and let family members know it’s off-limits for casual rummaging.
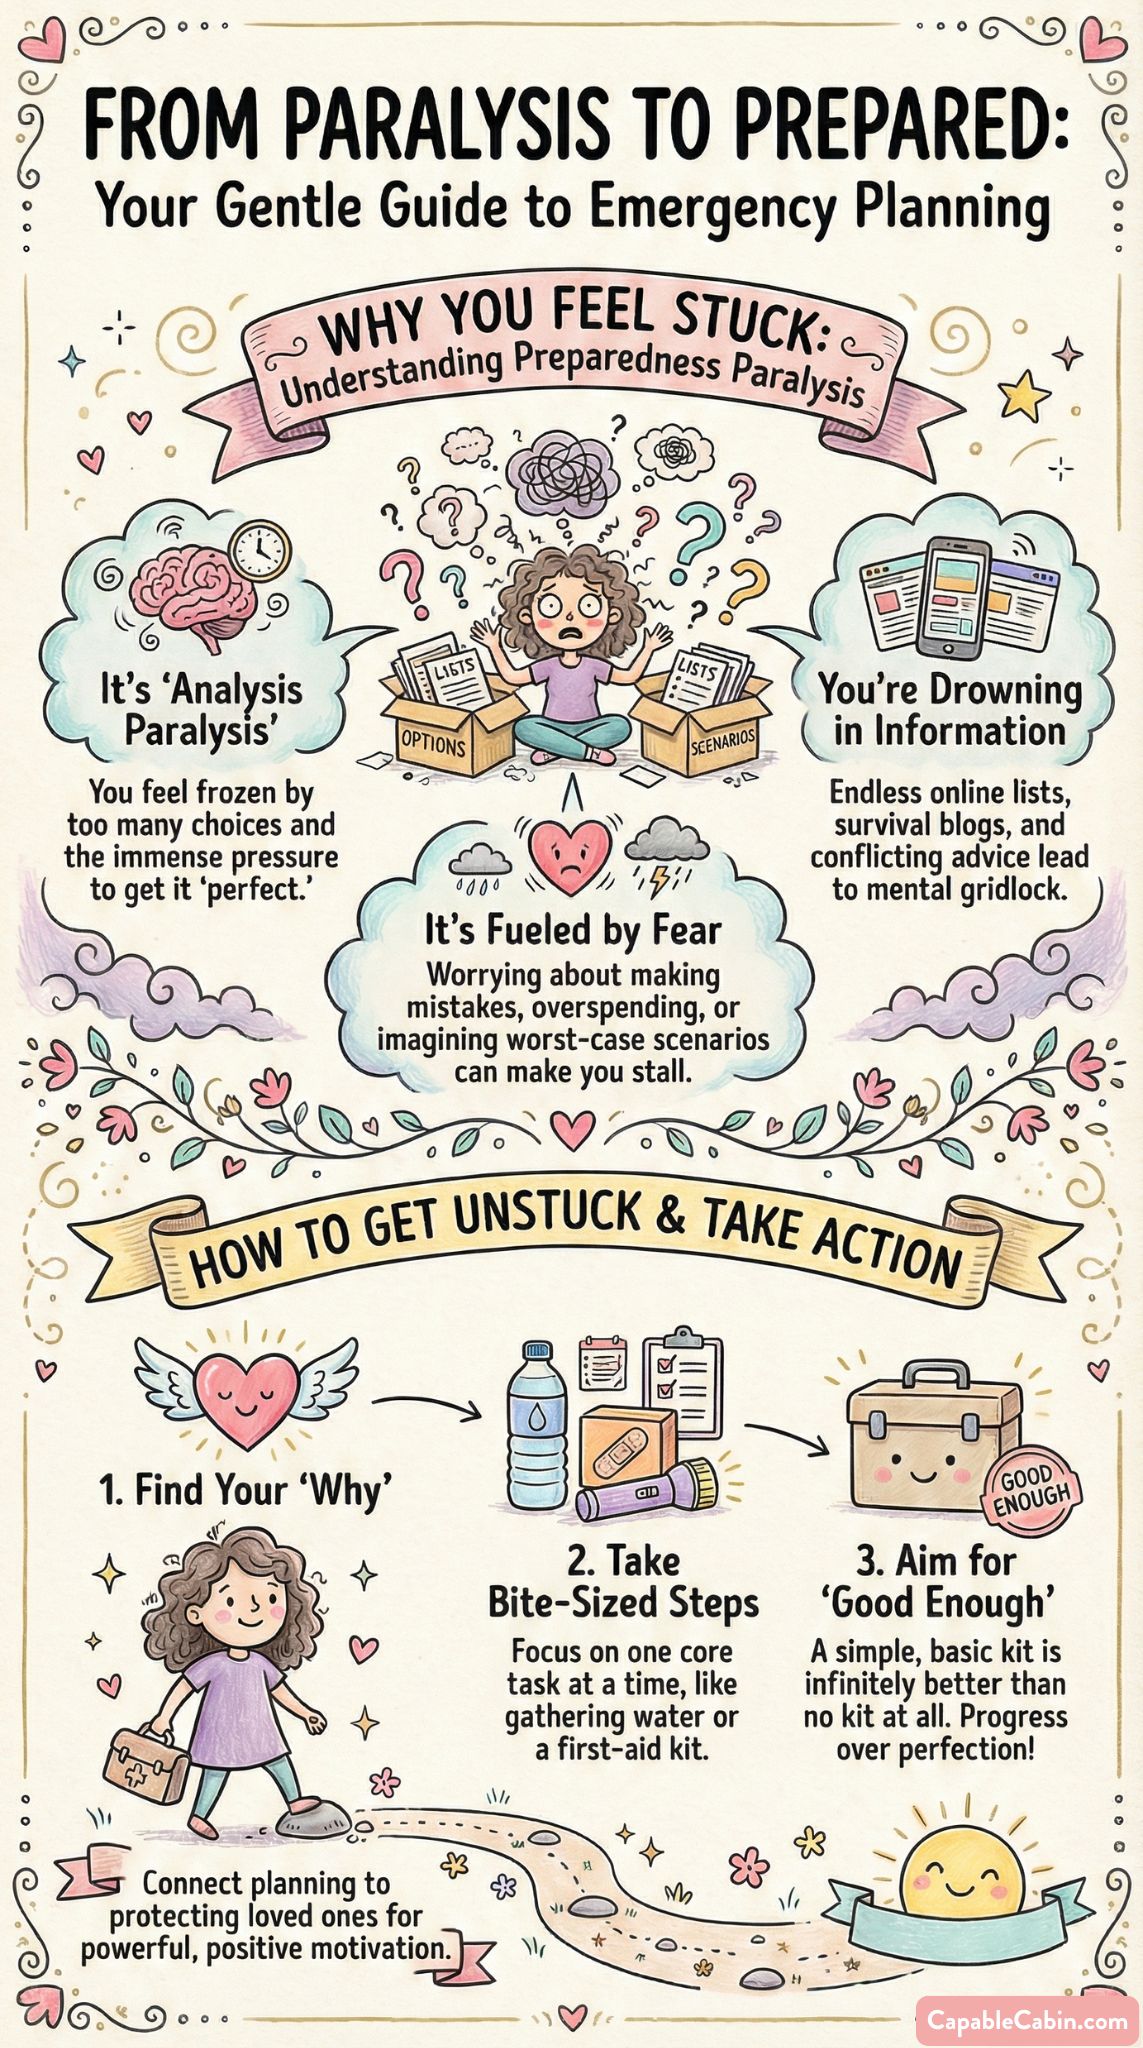
Putting together your 72 hour emergency kit complete with all the essentials is more about progress than perfection. Even small steps—a few extra cans of food here, a flashlight there—will bring you closer to feeling prepared and confident. Ultimately, the best kit is the one you have ready when you need it.
We’re all in this together, and taking time now to prepare your family’s supplies can ease your mind if a storm rolls in or the power goes out. You’ve got this—keep building, checking, and updating your kit over time, and celebrate each milestone. With some consistent care, your bag of goodies will be ready whenever life’s unpredictable moments decide to show up. Stay safe, and remember, you’re far from alone on this journey. We’re right here cheering you on every step of the way!