Emergency Planning for Multi-Generational Households: All-Ages Safety
If you’re a busy mom, caring for aging parents, raising little ones, and juggling teen schedules, the idea of “what if” can keep you up at night… I totally get it. Emergency planning for multi-generational households is a big task, but you don’t have to tackle it alone.
In this comprehensive guide, we’ll walk through simple steps to create a plan that keeps everyone safe, no matter their age or ability. Together we’ll build communication strategies, go-bag checklists, budget-friendly hacks, and practice drills so that when an emergency strikes, you feel prepared and confident.
First things first… Why plan with every generation in mind?
Grandparents might need medications or mobility aids. Teens could favor different communication methods. Little ones benefit from extra comfort items. By considering each person’s needs, you’ll craft a family emergency plan that works for all. Ready? Let’s dive in!
Understanding Multi-Generational Households
When grandparents, parents, and kids share a roof, you get wonderful moments — and some planning puzzles. Different ages bring different needs: mobility, medical equipment, communication preferences, and even dietary restrictions. That means your emergency plan has to be flexible and inclusive.
Here’s what to keep in mind:
- Physical abilities: Are stairs a challenge? Do you need ramps or grab bars?
- Medical needs: Who takes daily medication? Who needs insulin refrigeration or oxygen tanks?
- Communication styles: Older adults may prefer phone calls, while teens lean toward group texting or apps.
- Emotional comfort: Little ones might need a favorite toy, seniors may find reassurance in regular check-ins, and everyone benefits from clear roles.
That mix can feel overwhelming—trust me, I’ve been there. But once you map everyone’s needs, you’ll see patterns emerge and solutions start to click.
Assessing Family Emergency Needs
Before you stock up on supplies, pause and take inventory. A quick walk-through creates clarity.
- List all household members and their ages
- Note any special conditions (allergies, disabilities, chronic illnesses)
- Identify essential equipment (wheelchairs, hearing aids, service animal needs)
- Pinpoint communication preferences (landline, cell, video chat, notes)
- Consider pets and service animals (food, medications, carriers)
That gives you a snapshot of requirements—no guessing, no surprises. Plus, writing it down helps when you revisit your plan in six months or after a big life change.
Building A Communication Plan
So here’s the thing… clear communication can save lives. When chaos hits, you want a smooth way to reach each other and your out-of-town contact.
Key steps:
- Designate primary and backup contacts, ideally someone outside your area
- Create a simple contact list with names, phone numbers, emails, and social handles
- Share the list with every family member (consider laminated copies in each Go Bag)
- Agree on meeting points—one near home, one outside the neighborhood
- Practice using different channels: calls, texts, group chat, even smoke signals (just kidding)
That being said, tailor your alerts for folks with functional needs—audio, visual, or language barriers. Inclusive emergency communication matters, especially for neighbors with sensory impairments or limited English proficiency [1].
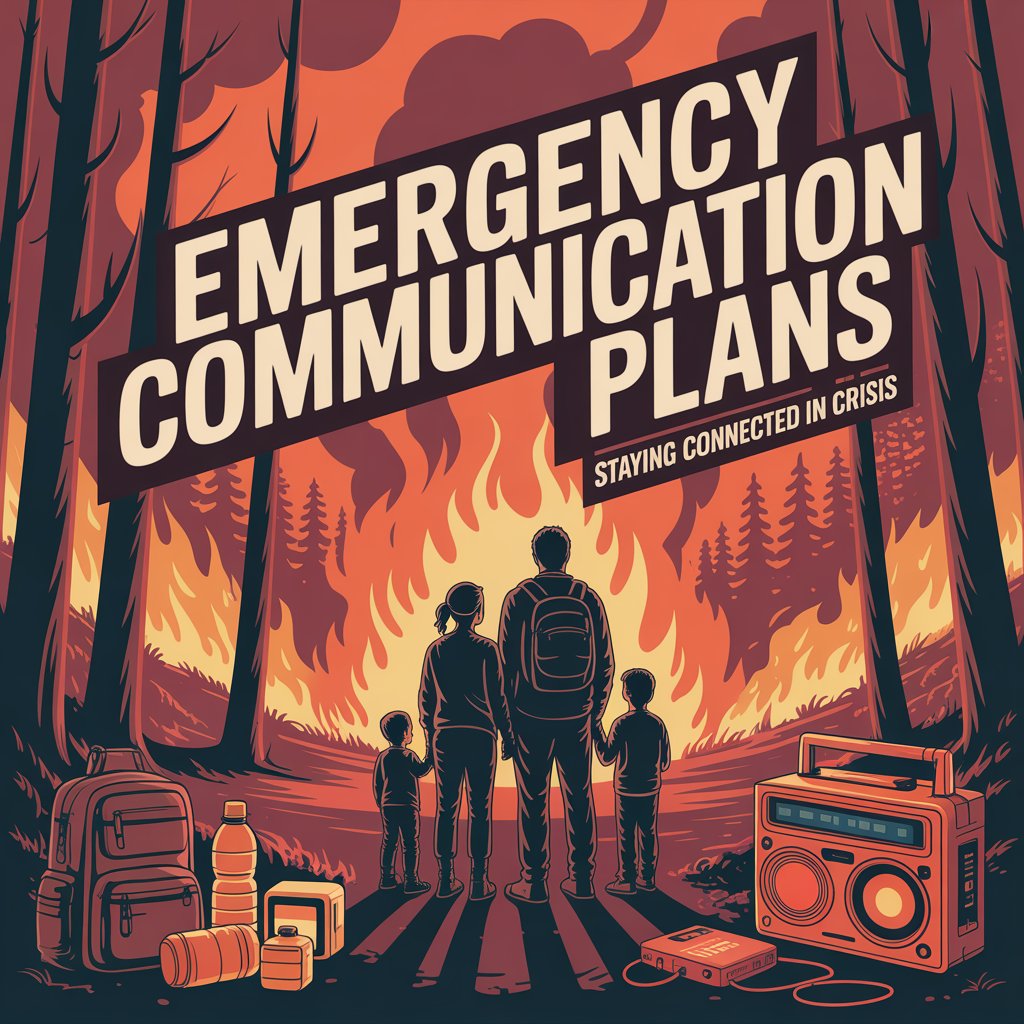
For more on crafting a fail-proof messaging strategy, check out our guide on emergency communication planning.
Creating Emergency Supply Kits
Let’s talk stash… No, not the secret chocolate stash (though treats are essential). I mean your at-home “sheltering stash” of supplies. Aim for at least five days of essentials—and if your area has shaky infrastructure, consider two weeks’ worth [2].
Your home kit should include:
- Water: one gallon per person per day
- Nonperishable food: canned goods, protein bars, baby formula
- Manual can opener and disposable utensils
- Pet food and supplies
- First aid kit with medications, prescription copies, and extra eyeglasses
- Hygiene items: soap, toothbrushes, diapers, incontinence supplies
- Bedding: blankets, sleeping bags, pillows
- Flashlights, extra batteries, portable charger
- Local maps, paper, and pencils
Stash these in a dry, easy-to-access spot—think garage shelf or under the bed. Label bins by category (food, medical, comfort) to avoid rummaging when stress is high.
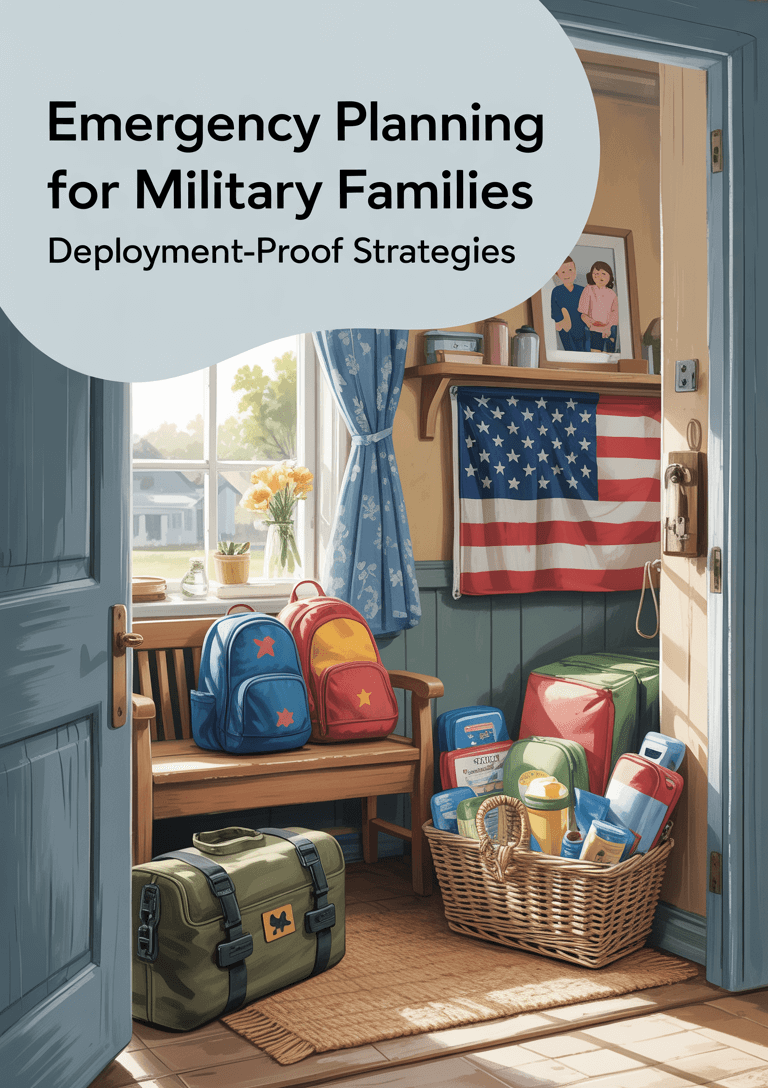
Preparing Individual Go Bags
When you need to evacuate fast, everyone should grab a personalized Go Bag. These portable packs belong near your front door or in each car.
Each bag might hold:
- Copies of IDs and essential documents (see emergency documents go bag)
- A three-day supply of medications and medical equipment
- Extra glasses, hearing aid batteries, mobility device repair tools
- Change of clothes, sturdy shoes, rain poncho
- Snacks, bottled water, protein packs
- Small first aid kit, flashlight, whistle
- Comfort items: favorite blanket, stuffed toy, deck of cards
- Cash in small bills, list of emergency contacts
Encourage teens to personalize theirs—they’ll be more likely to carry it. For seniors, choose lightweight bags with padded straps. And don’t forget service animals—pack extra food, water dish, leash, and health records.
Planning Evacuation Strategies
Evacuating a multi-gen household can feel like moving an army. A little prep goes a long way.
- Identify safe routes and backup paths—stick to designated evacuation roads
- Plan one car per family, but offer rides if there’s space to reduce congestion
- Fill up the gas tank early and top off regularly during alerts [2]
- Pack emergency supplies in the car: spare tire, basic repair tools, flashlight, first aid kit
- Wear sturdy shoes and protective clothing—no flip-flops in a flood zone
- Monitor traffic and weather via radio or app; avoid flooded areas and downed power lines
Having a clear exit plan and practiced route means fewer delays and less anxiety when time matters most.
Managing Special Needs
We’ve all been there—realizing halfway through a drill that someone’s needs weren’t fully considered. Here’s how to make your plan truly inclusive:
- Mobility aids: ensure accessible exits, install ramps or grab bars
- Sensory impairments: have written and audio instructions, use picture cards for kids
- Cognitive limitations: simplify steps, use color-coded labels, assign a buddy
- Language barriers: translate vital info or use pictograms, involve community interpreters
- Medical devices: arrange for backup power or extra batteries
It’s also wise to partner with local disability advocacy groups and senior centers—community engagement fosters trust and resilience [1]. And for home modifications—think handrails, emergency alert systems, ramps—see tips from HealthCraftProducts.
Implementing Home Safety Measures
A safe home reduces panic when disaster looms. Walk through each room with fresh eyes.
- Anchor heavy furniture and electronics to walls
- Install smoke and carbon monoxide detectors on every level
- Learn how to shut off utilities—electricity, gas, water [2]
- Store hazardous materials (cleaners, paint) in secure cabinets
- Keep flashlights and shoes near the bedside
- Label exits and escape ladders for little ones and seniors
- Post your emergency contact list on the fridge and in Go Bags
These small fixes bring big peace of mind—you’ll know everyone can move safely if you need to leave in a hurry.
Budgeting For Preparedness Costs
Worried about expenses? You don’t need to break the bank to prep smart.
- Repurpose sturdy containers and backpacks you already own [3]
- Buy supplies gradually—add an item or two each grocery run
- Use coupons, clearance sales, bulk buys, or community swap meets
- Seek local nonprofits or faith groups that distribute kits or grants
- Trade skills with neighbors—swap baked goods for bottled water
- Rotate perishables from your pantry—no waste, fresh supplies
A little creativity and time can turn everyday deals into emergency essentials without stretching your budget.
Engaging Community Resources
We’re not meant to do this alone. Lean on your neighbors, local agencies, and online groups.
- Join neighborhood watch or disaster readiness teams
- Volunteer at community drills to learn best practices
- Share resources and rides with neighbors [4]
- Find local parent or caregiver groups for mutual support [5]
- Sign up for city or county alert systems and social media updates
- Connect with schools, churches, and senior centers for coordinated plans
Community collaboration boosts coverage and creates a safety net when resources get stretched.
Practicing Your Emergency Plan
Practice makes progress—no one nails it on the first try.
- Schedule quarterly drills (fire, earthquake, flood)
- Walk through evacuation routes and shelter-in-place steps
- Use role-play: kids call out scenarios, seniors test mobility routes
- Time your drills—aim for evacuation under five minutes
- Debrief with the family: what worked? What needs adjusting?
- Keep it fun—turn it into a game or reward participants
Regular drills help everyone remember their role and keep nerves under control when real emergencies strike. For kid-friendly practice ideas, see practice emergency plans kids.
Reviewing And Updating Plans
Life changes quickly—so should your plan.
- Revisit your plan twice a year or after major events (births, moves, health changes)
- Audit supplies: check expiration dates, replace used items
- Update contact lists with new numbers or social handles
- Review evacuation routes for new road closures or construction
- Assess home modifications: does a new ramp or detector make sense?
- Ask for feedback: encourage each family member to share concerns
Need more guidance on timing? See our post on how often update emergency plans.
Cabin Chat
- What’s the first thing I should do?
Gather everyone and talk about a simple meeting point outside your home. Just a quick chat gets everyone on the same page. - How do I involve reluctant teens?
Let them personalize their Go Bags with favorite snacks, playlists, or a selfie stick for comfort. Ownership helps them engage. - Can I use pantry items for my shelter stash?
Absolutely—rotate canned goods you already eat, protein bars, and pet food. No need to buy specialty items right away. - How do I keep elderly relatives calm during drills?
Explain each step clearly, move at a slow pace, and remind them it’s practice—not an actual emergency. A little reassurance goes a long way. - What if I live in an apartment?
Focus on communication plans, a compact Go Bag, and knowing your building’s evacuation procedures—check out emergency planning apartment living. - How can I practice without scaring younger kids?
Turn drills into pretend adventures—grab your “magic” flashlight and hunt for hidden treasures outside. Keep it lighthearted. - Is budgeting for prep worth it?
Definitely—gradual shopping, DIY containers, and community resources mean you can build a solid plan without stress. You’ve got this!