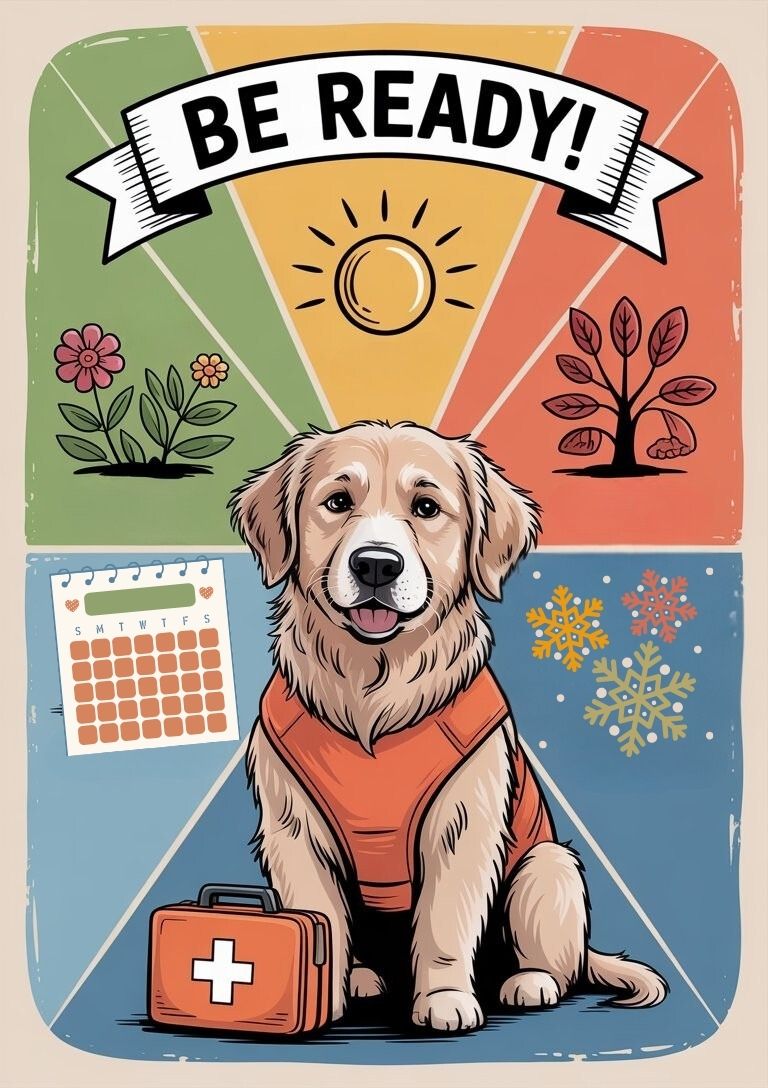
20 Pet Emergency Supply Storage Solutions
When you think about pet emergency supply storage, you might picture an overflowing hallway closet or random boxes shoved under the bed. Trust me, we’ve all been there, and it can be overwhelming. But here’s the thing: staying organized today can make all the difference tomorrow if disaster strikes. Experts like the CDC recommend putting together a well-stocked kit that includes water, food, medications, and essential documents [1]. And according to Ready.gov, it’s smart to have both a larger kit for sheltering in place and a smaller one for quick evacuation. With all these items to juggle, having the right storage solutions ensures you can grab your pet’s emergency gear at a moment’s notice.
Below, you’ll find 20 practical ideas to store or organize your pet’s emergency supplies. Pick and choose what feels right for your household, your space, and your pets’ needs. Let’s tackle this together, one storage trick at a time.
1. Use Heavy-Duty Plastic Bins
Heavy-duty plastic bins with snap-on lids are often the first thing people think of for storage—and for good reason. They’re sturdy, water-resistant, and easy to find in most stores. If you spot a sale, consider grabbing a couple, so you can label one for everyday supplies and another for longer-term storage.
- Keeps out moisture and pests: Plastic bins are less likely to let water seep in during mild flooding or storms.
- Easy to stack: You can stack them in a closet, garage, or under a table.
- Simple to grab on the go: If you need to evacuate fast, just load them into your vehicle.
A tip: choose see-through bins if you want to quickly check what’s inside. But if you’d rather keep sunlight or prying eyes out, opt for opaque ones and label them clearly.
2. Try Stackable Storage Crates
If you’re looking for something you can rearrange at a moment’s notice, stackable storage crates might be your best friend. They’re usually lightweight, and some even fold flat when not in use. Plus, you can color-code them if you have multiple pets or if you want to separate food, meds, and first aid items.
- Perfect for small spaces: Stack them vertically to save floor space.
- Good ventilation: Crates often have gaps or vents, which can help keep items fresh.
- Quick reorganizing: If your stash needs to evolve, simply switch crate positions.
Keep in mind that although they’re easy to move, these crates are less dust- and spill-proof than bins with lids. If you’re storing loose items or liquids, consider smaller containers within your crates to keep everything tidy.
3. Go With Rolling Totes
Rolling totes can be a lifesaver if you anticipate moving heavy supplies around—especially large quantities of water or canned food. It’s like equipping your pet emergency gear with its own set of wheels, making evacuation as smooth as possible when time is tight.
- No heavy lifting: Simply roll your supplies to the car or a safer spot inside your home.
- Great for multi-pet households: If you’re dealing with a lot of gear, rolling totes can handle more weight with less strain on your back.
- Lockable lids: Some brands offer built-in locks or sturdy latches, adding an extra layer of security.
A quick heads-up: watch out for uneven ground or stairs, which can make rolling tough. Keep a backup plan (like a friend to help carry) if your home layout is full of steps or narrow landings.
4. Repurpose Suitcases for Storage
Got an old suitcase lying around? Perfect—you can transform it into a mobile pet emergency kit. Suitcases often have multiple compartments, which help separate items like food, vet paperwork, and first aid supplies. And the wheels make it simple to roll right out the door if you need to leave.
- Built-in mobility: Most suitcases have telescoping handles and are easy to move.
- Hidden compartments: Use zippered pockets for important documents or a grooming kit.
- Padded walls: Some suitcases offer a bit of extra cushioning to protect fragile supplies.
Just be sure the suitcase is in good shape. You don’t want a broken zipper messing things up when you’re under stress. Slap on a clear label—something like “Pet Emergency Supplies”—to make it easy to spot in a cluttered area.
5. Opt for Vacuum-Sealed Bags
If you’re short on space and want to keep certain items fresh, vacuum-sealed bags might be your go-to solution. These bags compress soft materials—like blankets, towels, or even extra pet bedding—into a fraction of their original size.
- Saves space: Great for apartments or smaller homes where storage is tight.
- Keeps fabrics clean: Minimizes exposure to dust or moisture.
- Works with some food items: If you opt to vacuum-seal pet treats or kibble, confirm it’s safe to do so and regularly check the expiration.
Remember, you’ll need a vacuum sealer or a hand-pump system to remove the air. And if you’re adding medication or sensitive supplies, consider the temperature. Some items may degrade if overheated during the sealing process.
6. Store in Clear Shoe Boxes
You might not think about shoe boxes for a pet emergency kit, but they can be remarkably handy. Clear plastic shoe boxes stack well, and they’re generally cheap. They’re also the perfect size for grouping small items, such as bandages, travel bowls, or grooming tools.
- Simple categorization: Each box can hold a different category like “First Aid,” “Treats,” or “Grooming.”
- Quick identification: See-through plastic means no frantic rummaging.
- Good for daily use: If you only need a few items regularly, grab one small box instead of a huge container.
Place them on a shelf or inside a larger cabinet. Just be careful not to overstuff each box, or the lids might not fit properly.
7. Create a Sealed Five-Gallon Bucket Kit
Five-gallon buckets with airtight lids can handle all sorts of rough conditions, from minor flooding to bumpy car rides. Plus, they’re easy to find at home improvement stores. Some pet owners like to keep one or two buckets specifically for water storage—just rotate the water out regularly to keep it fresh.
- Airtight and durable: Keeps rodents and other pests out.
- Multipurpose: Could also double as a makeshift seat in an emergency shelter.
- Stackable: If you have multiple buckets, you can stack them in a closet or garage.
It’s wise to label each bucket’s contents. And if you store water, remember to replace it as recommended, typically every six months, unless the water is specially treated.
8. Use Over-the-Door Organizers
Those hanging organizers with rows of pockets aren’t just for shoes. You can also use them to store lightweight pet essentials like leashes, collapsible bowls, or smaller first aid items. It’s a fantastic space-saver in cramped apartments.
- Easy visibility: Everything’s in plain sight, making weekly check-ins a breeze.
- Simple to install: Just hook the organizer over a door—no drilling required.
- Perfect for daily use: Great if you need quick access to certain items, like poop bags or a harness.
Keep heavier items elsewhere, as the pockets might sag or tear under significant weight. But for smaller essentials, an over-the-door organizer is pure gold.
9. Set Up a Multi-Drawer Cart
Rolling multi-drawer carts are a popular crafting or office solution, but they can also be ideal for pet emergency gear. Each drawer can be dedicated to a specific category (food, meds, medical records, grooming, etc.).
- Effortless organization: Keep your kit sorted without rummaging each time.
- Portable: Most carts have wheels for easy movement from room to room.
- Flexible: If you outgrow a drawer, simply reorganize and shift things around.
Because most of these carts are plastic, be mindful of weight limits. Heavier items like water bottles may need a sturdier alternative, but for your pet’s smaller essentials, this is a solid choice.
10. Convert a Bookshelf Into a Storage Hub
Got a bookshelf collecting dust? With baskets, bins, or crates, you can turn it into a pet emergency prep station. Each shelf can handle a different category of supplies. This open display makes it super easy to spot what you need.
- Customizable: Add decorative baskets for a nicer look or just use plain bins.
- Easy to see stock levels: Visually check if you’re running low on food or meds.
- Good vertical use of space: A tall bookshelf can hold quite a bit.
To keep things from toppling, store heavier items on the bottom shelves. And for peace of mind in earthquake-prone areas, secure the bookshelf to the wall to prevent tipping.
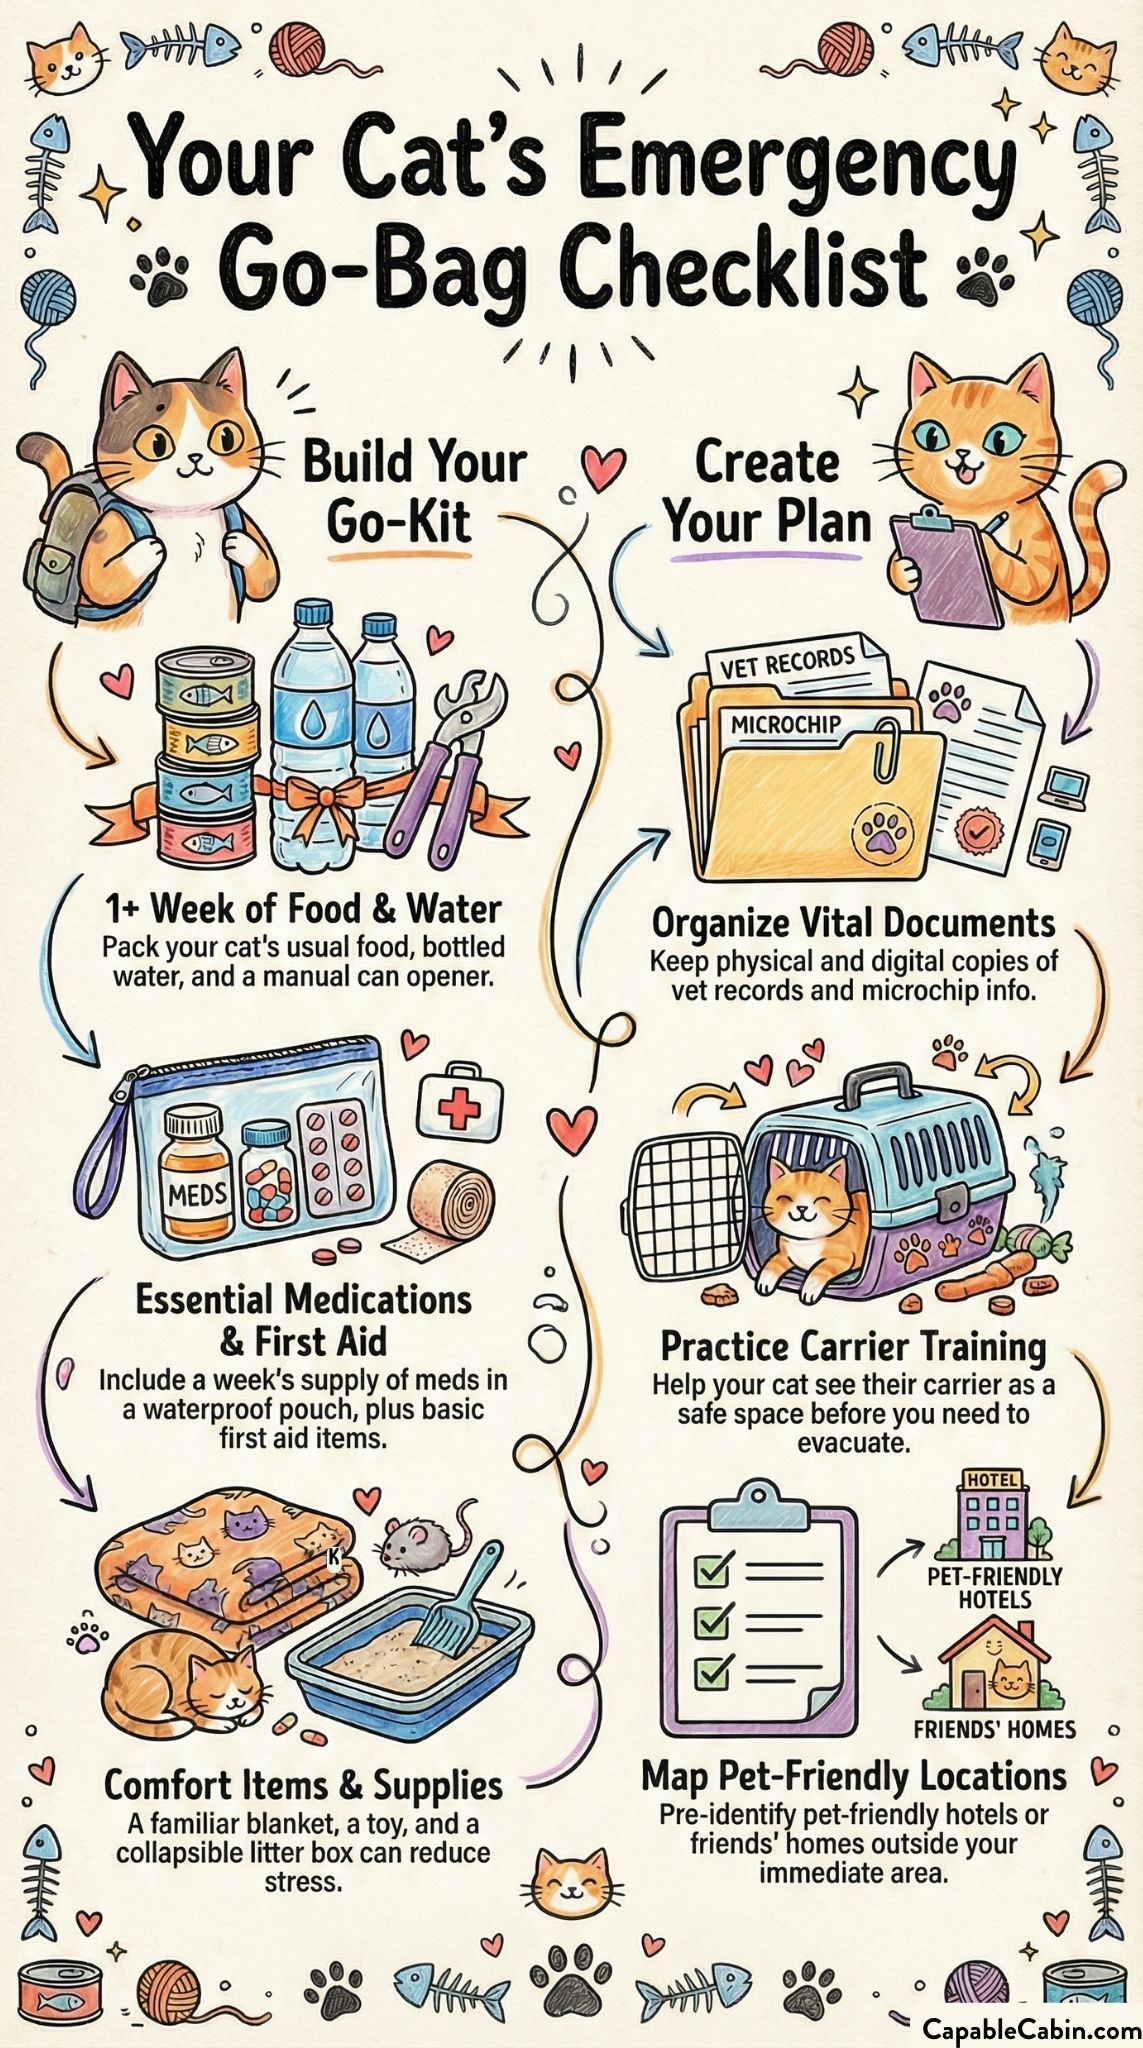
11. Keep a Lightweight Go-Bag Handy
A go-bag (or “bug-out bag”) is critical for evacuation scenarios. You might store it in a front closet or near your exit so you can grab it in seconds. This bag doesn’t need to hold everything—just the absolute essentials to get your pet through a few days away from home.
- Prioritize daily must-haves: Food pouches, water pouches, collapsible bowls, and copies of vet records.
- Comfortable design: A backpack or shoulder bag is easiest to carry.
- Regularly updated: Be sure to replace any near-expiry items and refresh water or treats periodically.
You’d still keep a larger kit at home for longer-term shelter-in-place situations. But in a rush, this smaller kit can be a lifesaver.
12. Utilize Unused Under-Bed Space
If you need to store bigger items—like large bags of dog kibble, extra bedding, or crates—you might have prime real estate right under the bed. Rolling under-bed storage boxes keep everything off the floor and out of sight.
- Ideal for bulky gear: Bedsheets for your pet, extra towels, or large food bags fit well.
- Hidden storage: Makes a small room feel less cluttered.
- Easy retrieval: Opt for boxes with wheels, so you don’t throw out your back retrieving items.
Just remember to check under there regularly. Out of sight can mean out of mind, so set a reminder to rotate food and other perishables every few months.
13. Label Everything Clearly
No matter which method you choose, labeling each container is a massive time-saver. You can use color-coded stickers or plain text labels—whatever floats your boat. You might label by pet name (if you have multiple animals) or by the type of contents (food, first aid, documents).
- Prevents confusion: When you’re in a hurry, you’ll immediately grab the right container.
- Encourages others to help: If family members or neighbors step in, labels make their job easier.
- Reduces panic: In emergencies, you won’t waste precious seconds rummaging.
Consider water-resistant labels or a simple strip of duct tape with permanent marker if you’re worried about moisture smudging the ink.
14. Make Two Separate Kits
This one is recommended by Ready.gov and echoed by the American Red Cross. A larger kit stays at home for sheltering in place, and a smaller, lightweight kit travels with you if you must evacuate. The secret is storing them in a way that’s easy to remember and grab.
- Home-Based Kit: Store in a stable spot, like a mudroom cabinet or a laundry room shelf.
- Evacuation Kit: Keep it near your main exit or in your car if that’s more convenient.
- Regular checks: Make sure both kits stay updated with fresh supplies.
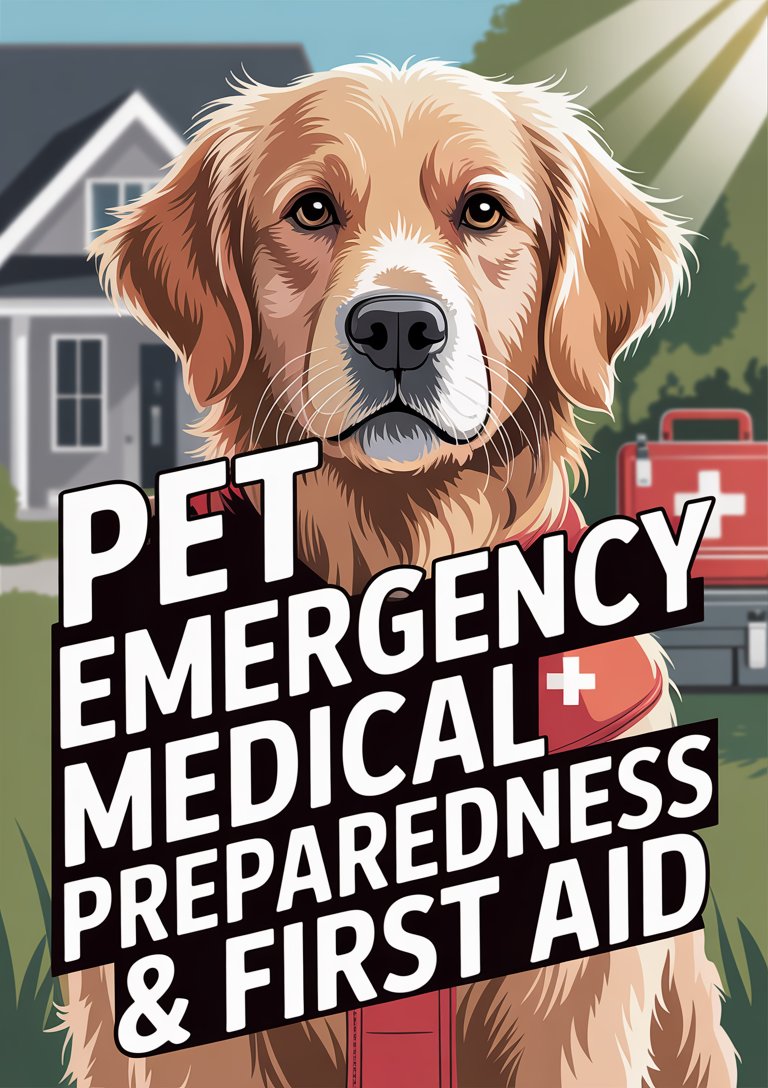
If you’re ever in doubt about how to plan the contents, a quick chat with your vet can help. You can also refer to pet emergency medical preparedness resources for a more detailed breakdown of first aid items.
15. Consider Wall-Mounted Cabinets
If you have the space and resources, a small wall-mounted cabinet could be a clear and secure home for your pet’s emergency supplies. These cabinets can be especially helpful if you’re worried about flood risk or water damage at floor level.
- Off the ground: Reduces the chance of water damage in mild floods or leaks.
- Secure storage: Many cabinets come with locks or latches.
- Visibility: If it’s at eye level, you’ll see right away if you’re running low on anything.
Wall-mounted solutions are a bit more permanent, so plan carefully. But once you’ve installed one, you’ll enjoy having a dedicated station for your pet’s emergency gear.
16. Reinforce a Hall Closet for Pets
If you’ve got a hall closet you rarely open, consider turning it into a dedicated pet supply zone. Outfit it with shelves, hooks, or hanging organizers to make the most of every inch. Create a mini “command center” in there, with checklists or a small whiteboard to track what needs refilling.
- Consolidates everything: Instead of scattering supplies around your home, keep them in one cohesive space.
- Improved readiness: Being able to see your entire stock at once helps you spot missing items.
- Easy access: Hall closets are often centrally located, so you can grab supplies quickly.
A note: if you have kids, they may dig around in the closet out of curiosity. Keep more sensitive items (like meds) on higher shelves or in locked containers.
17. Tuck Supplies in a Pet Travel Carrier
You might already have a carrier for trips to the vet or for traveling. Why not store a portion of your emergency kit inside it? That way, if you have to make a quick exit, you’ll have your pet’s crate and essential items together.
- Two-in-one convenience: Carrier is ready to go at a moment’s notice.
- Ample compartments: Many carriers have pockets for papers, food, or treats.
- Familiar smell: Your pet’s carrier likely smells like home, which can soothe them under stress.
Just ensure you’re not overloading the carrier. You don’t want it to be too heavy if you actually need to carry your pet inside it. Keep the heaviest supplies elsewhere or in a separate bag.
18. Use Repurposed Dresser Drawers
If you have a spare dresser in a guest room, those drawers can store a surprising amount of pet supplies. For instance, dedicate one drawer to extra food, another to first aid, and another to comfort items like blankets or toys.
- Quick rummage is easy: Drawers let you see everything at a glance.
- Tidy appearance: No clutter if you prefer a neat look in your home.
- Child-safe option: You can childproof the drawers if needed, keeping supplies secure.
Older dressers might struggle with heavy loads, so test the sturdiness before cramming them with large amounts of canned food. Also, keep an inventory list taped to the inside of a top drawer. That way, you always know what you have and what might be missing.
19. Keep a Fridge or Cooler Section
Some meds or pet foods might need refrigeration, so don’t forget about your fridge or a portable cooler. If you have a mini-fridge in the garage or a basement, consider reserving a shelf for pet necessities that have to stay chilled.
- Preserves medications: If your vet prescribes anything temperature-sensitive, the fridge is a must.
- Great for wet food: Some pet owners prefer to keep a small stock of canned wet food chilled.
- Label clearly: Keep your pet’s items separated from human foods, so no one accidentally uses the wrong stuff.
If you rely on a cooler, have backup ice packs ready in case of a power outage. And rotate any perishable items regularly to keep them fresh.
20. Build a Custom Pet Emergency Station
If you’re a DIY enthusiast or you simply love the idea of a one-stop emergency corner, consider building (or adapting) a small cabinet, closet, or shelving unit just for your pet’s supplies. This station could include hooks for leashes, compartments for food, a basket for toys, a pinned-up list of emergency phone numbers, and a dedicated slot for important documents.
- Fully personalized: Arrange shelves based on your pet’s specific needs.
- Incorporate checklists: Post reminders about rotating items, checking expiration dates, and veterinarian phone numbers.
- Add a safety notice: The American Red Cross recommends using a rescue sticker alert on your home to inform rescue workers of your pets. Keep extra stickers in your station.
It might take some time and effort to set up, but having everything consolidated in one tidy corner can really reduce stress in the long run. You’ll know exactly where to go, and so will any family member or pet sitter if an emergency arises.
Closing Thoughts
Planning your pet emergency supply storage might seem like yet another chore in an already busy life. But let’s be honest, your furry friends rely on you to keep them safe—especially when the unexpected occurs. By choosing the right storage strategies, you’ll not only stay prepared but also find peace of mind knowing you can grab what you need without a frantic scavenger hunt.
Whenever you need a refresher or an updated supply list, remember that organizations like Ready.gov and the CDC have excellent guidelines for pet emergencies. If you’re prepping for multiple pets, you can also check out multi pet emergency preparedness for tips on scaling up your plan. Trust me, we’re all in this together—every label, every bin, every last rescue sticker.
The most important step? Just get started. Whether you opt for plastic bins in your closet or a full-blown custom station in your garage, each move you make today helps protect your pet in those unexpected tomorrow moments. You’ve got this. And so do they.
References
- (CDC)